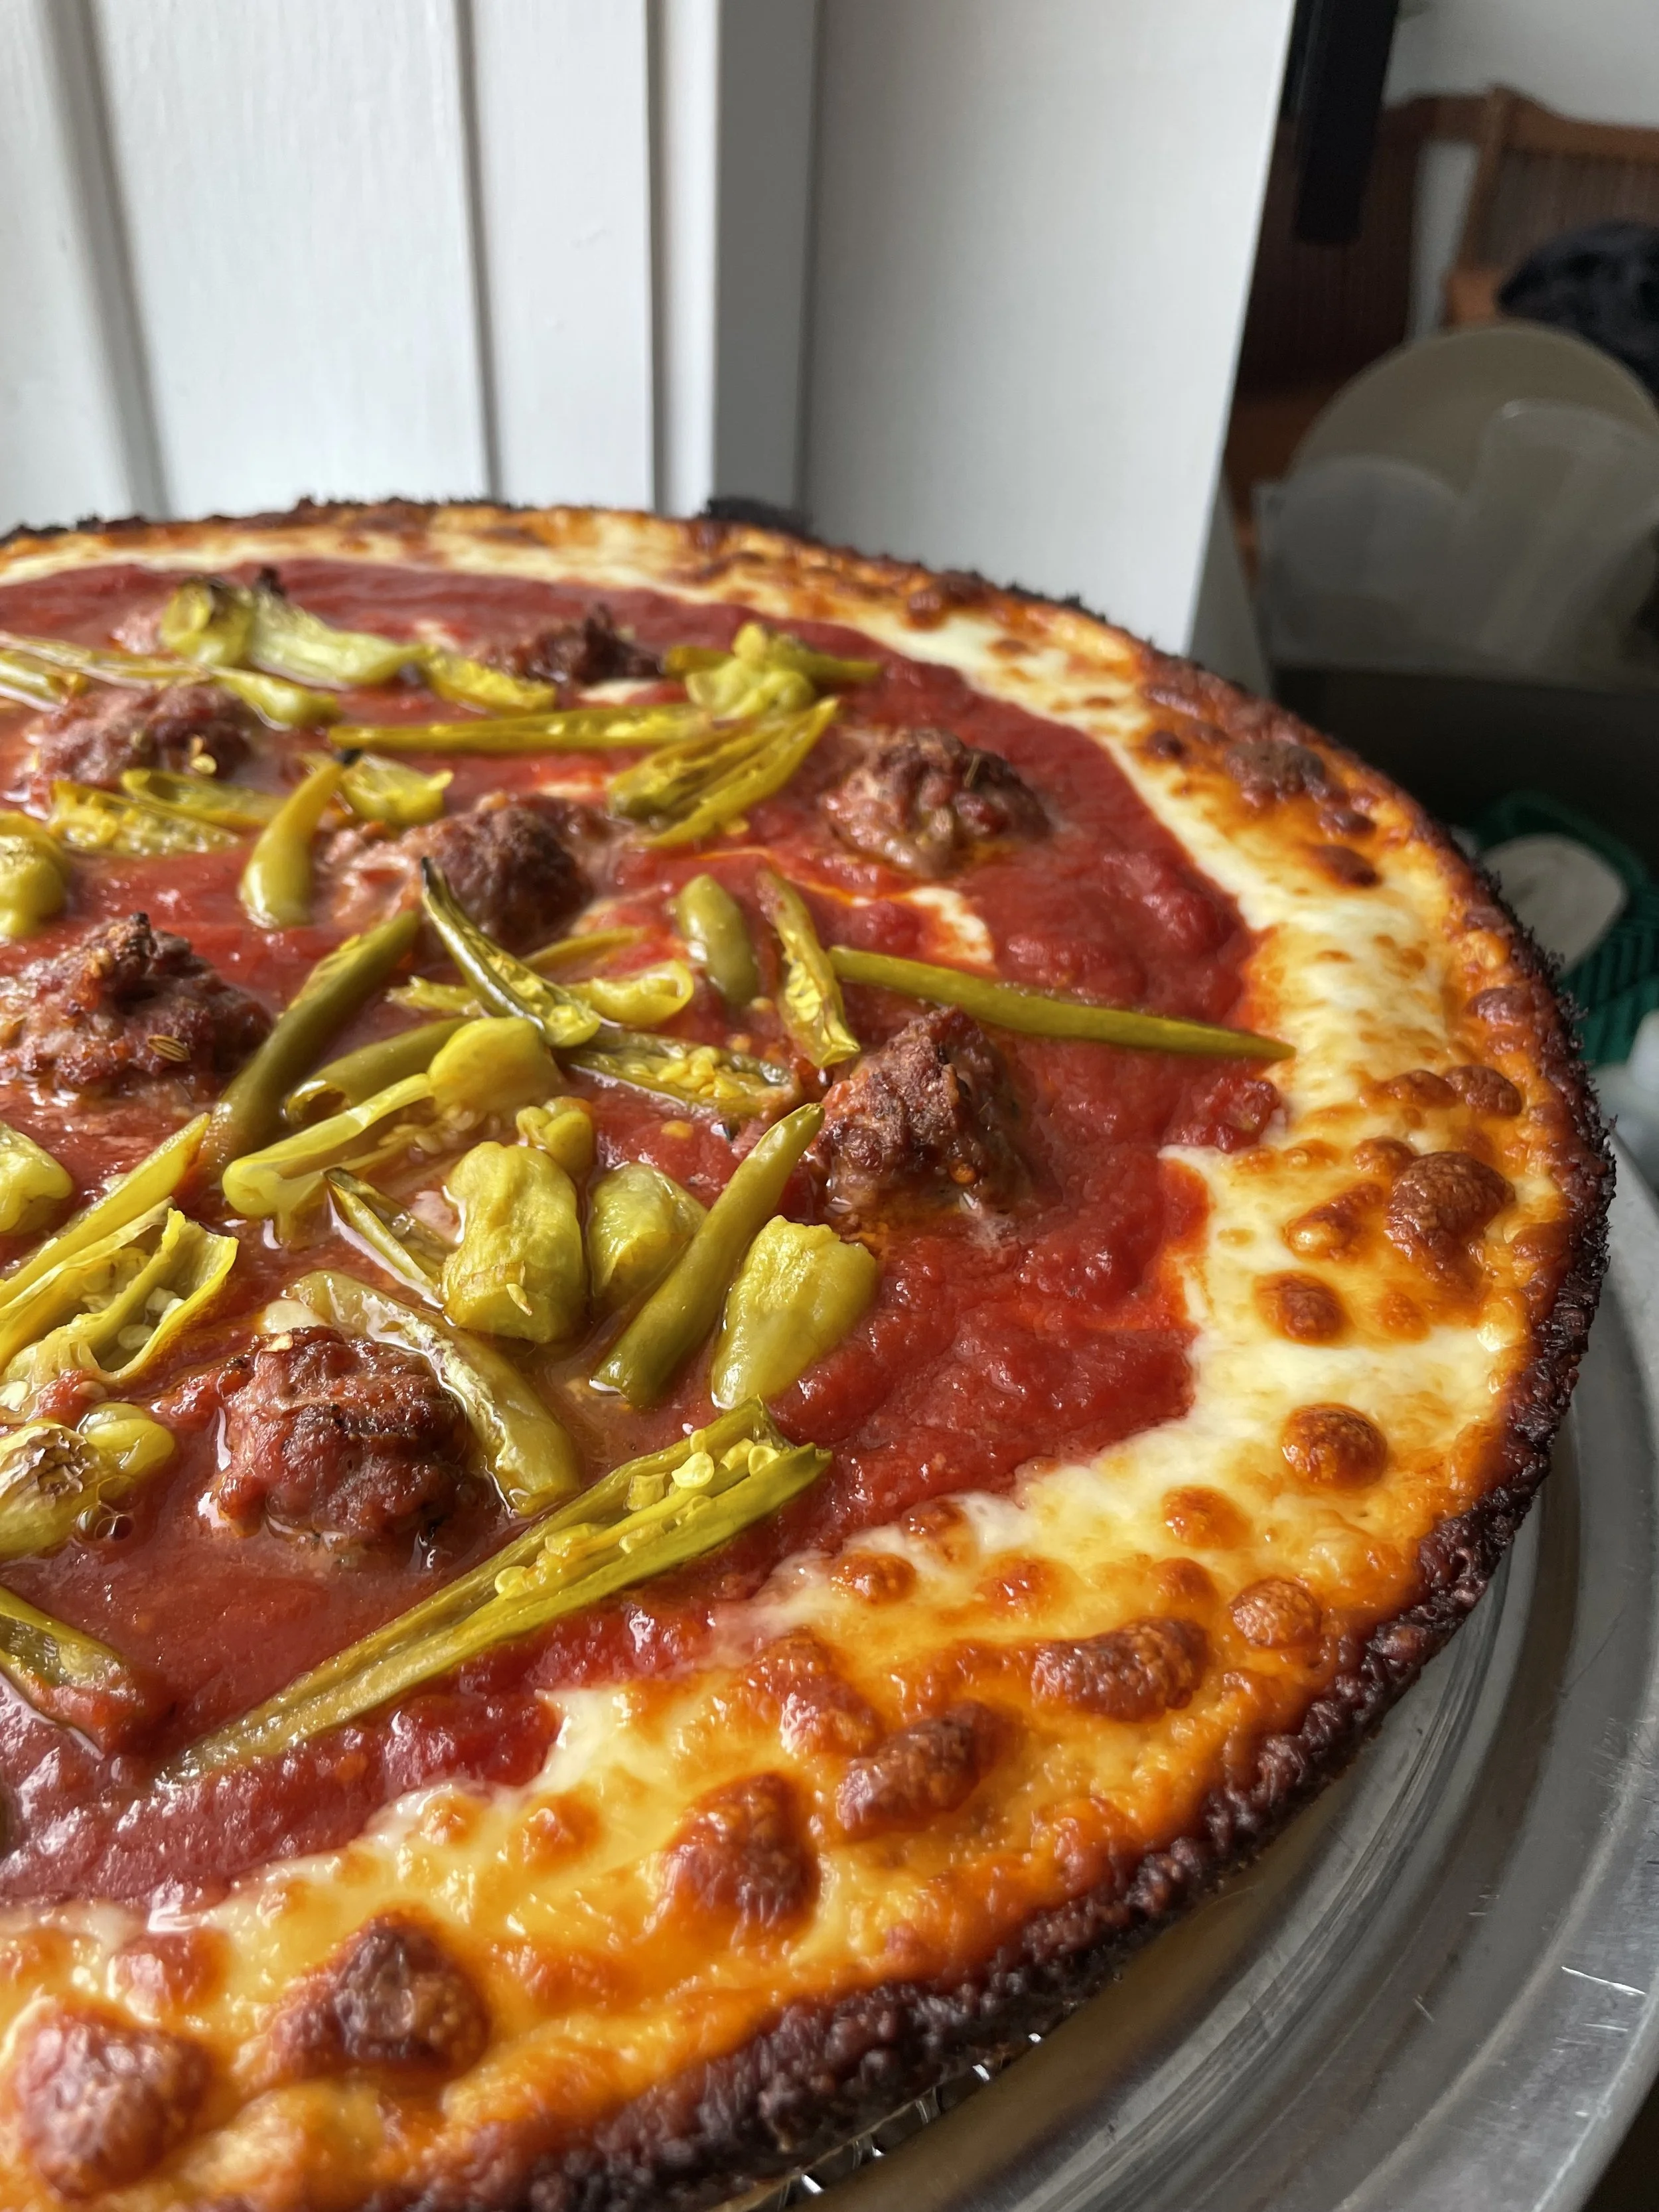
Chicago Pan Pizza
In the late 19th and early 20th centuries, waves of Neapolitan immigrants found their way to Chicago, seeking work in the city's thriving industrial scene. With them, they brought a longing for the flavors of home, particularly for pizza. But it wasn't until the 1940s that their legacy would take on a new American identity. That transformation began with Ric and Ike at Pizzeria Uno's, who reimagined the traditional pizza into something uniquely Chicagoan - the deep-dish pizza, a hearty, pie-like creation that turned the conventional pizza on its head.
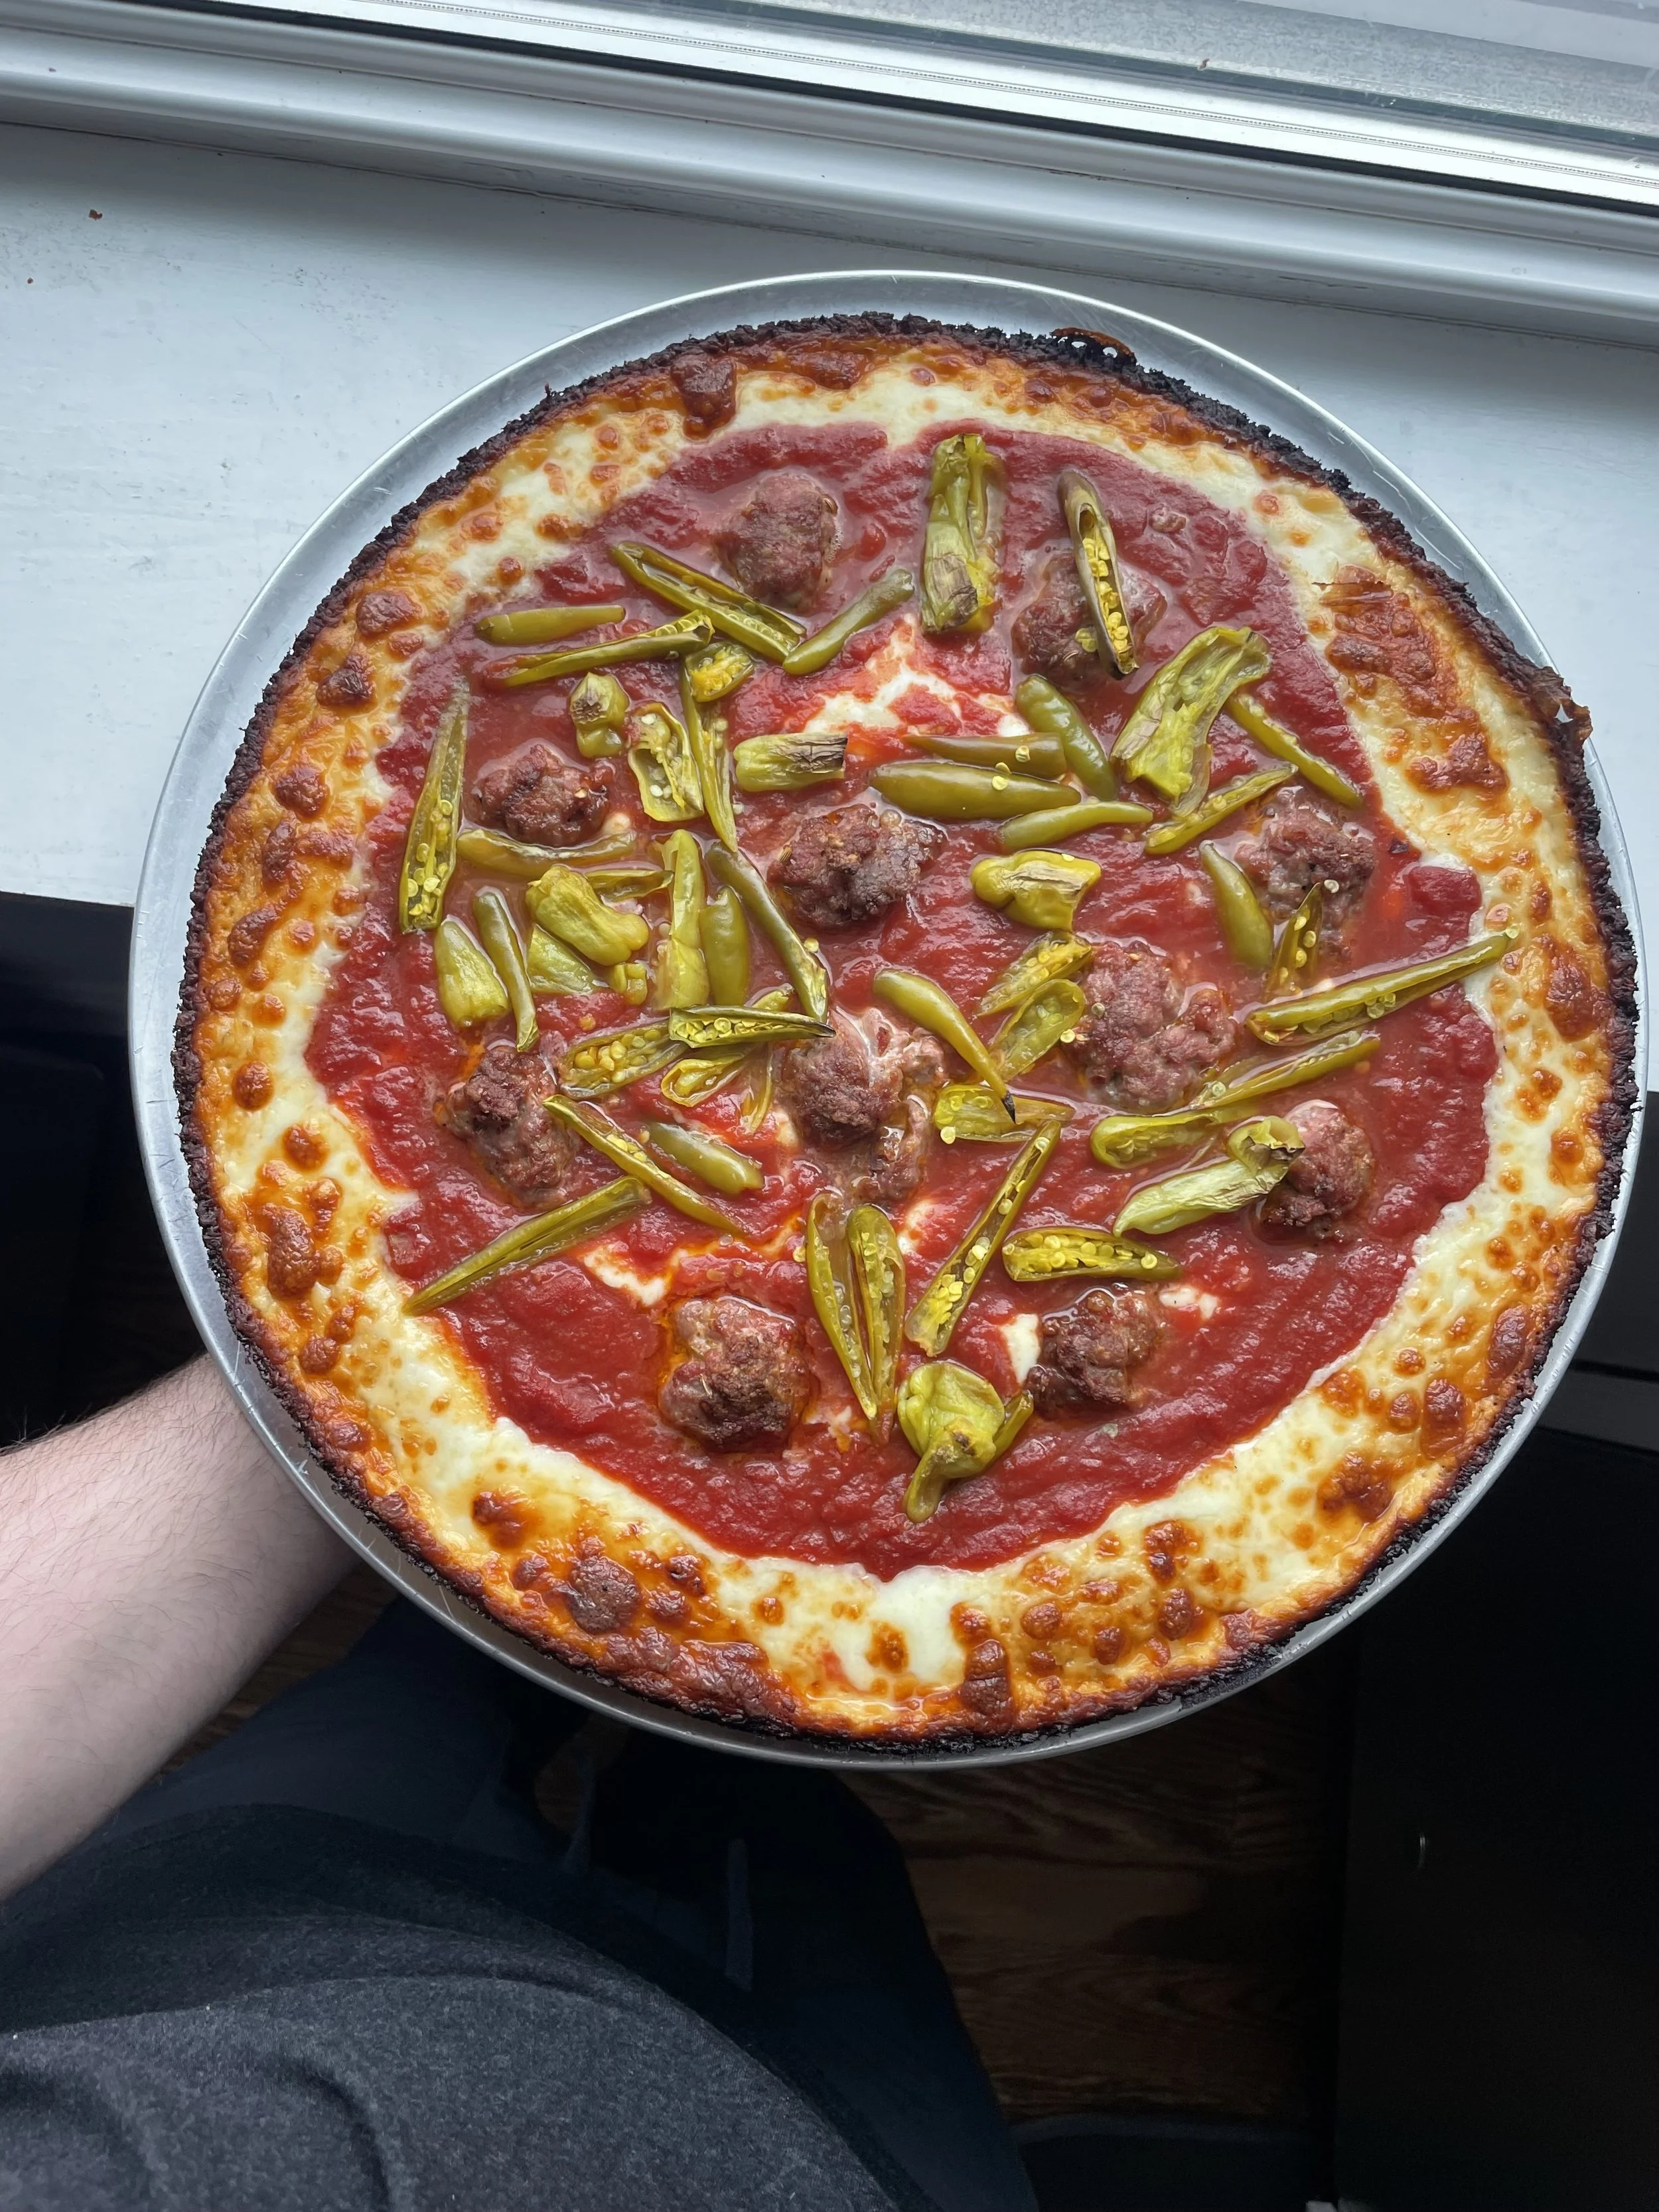
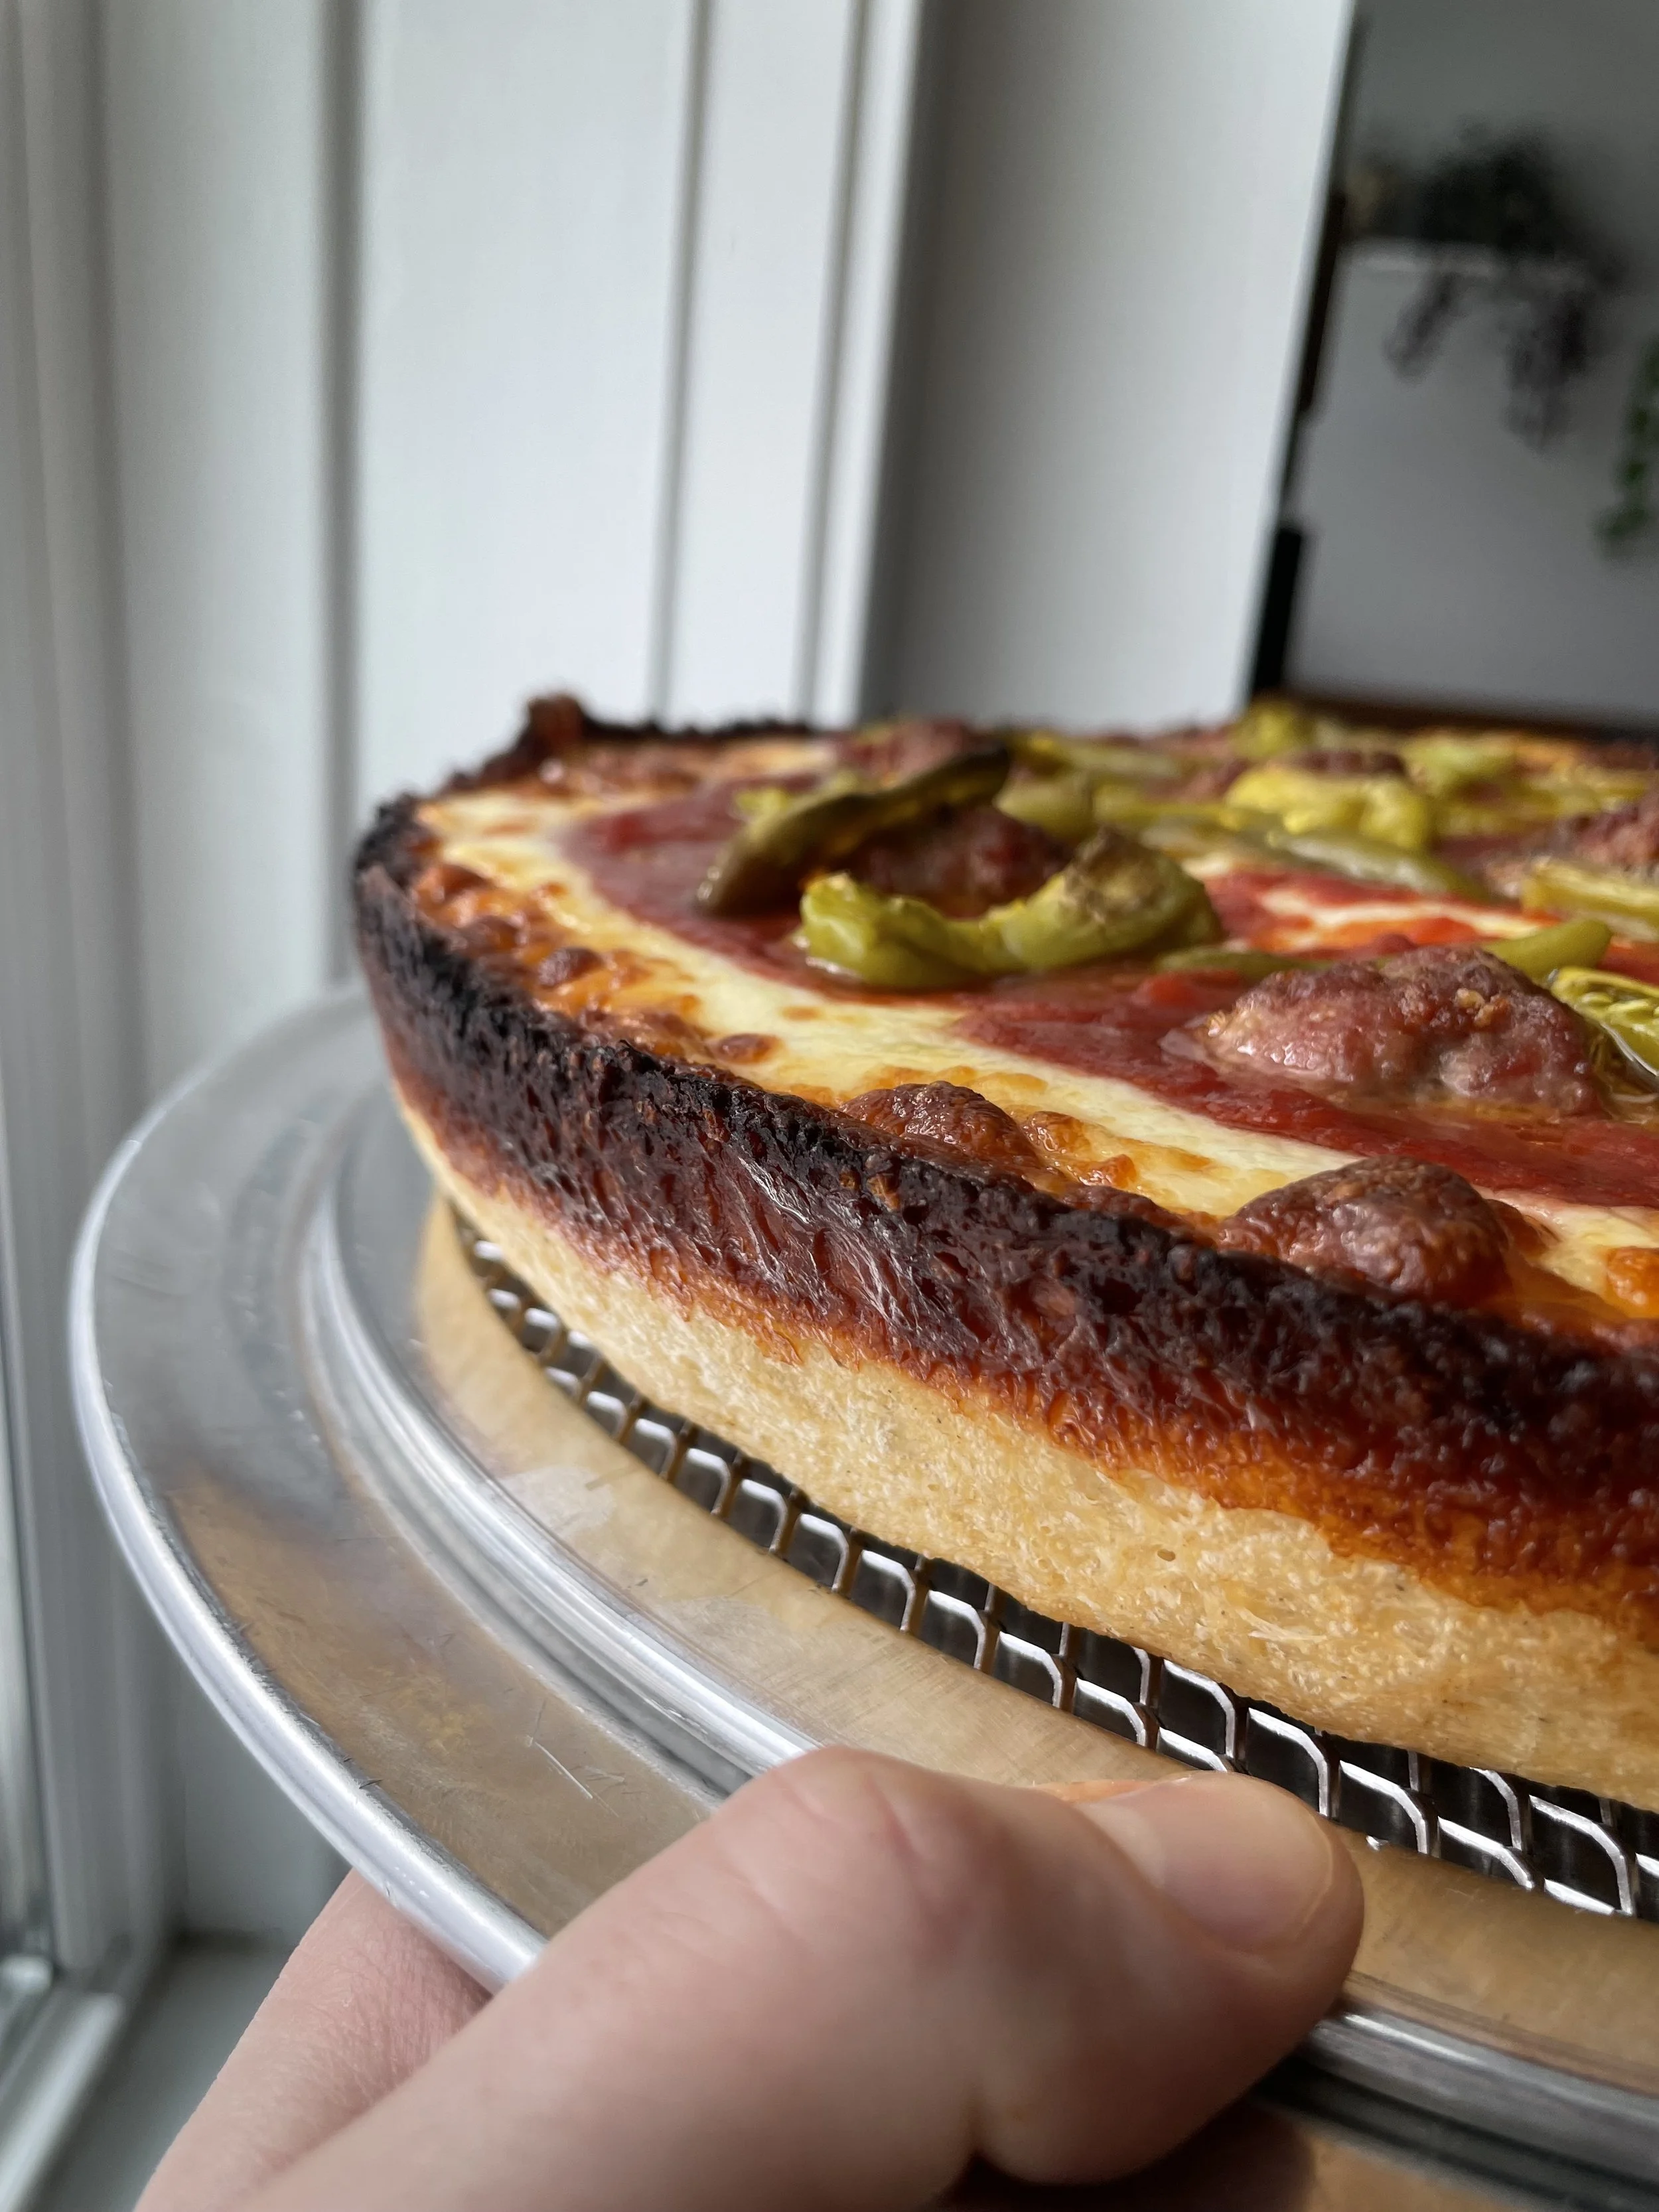
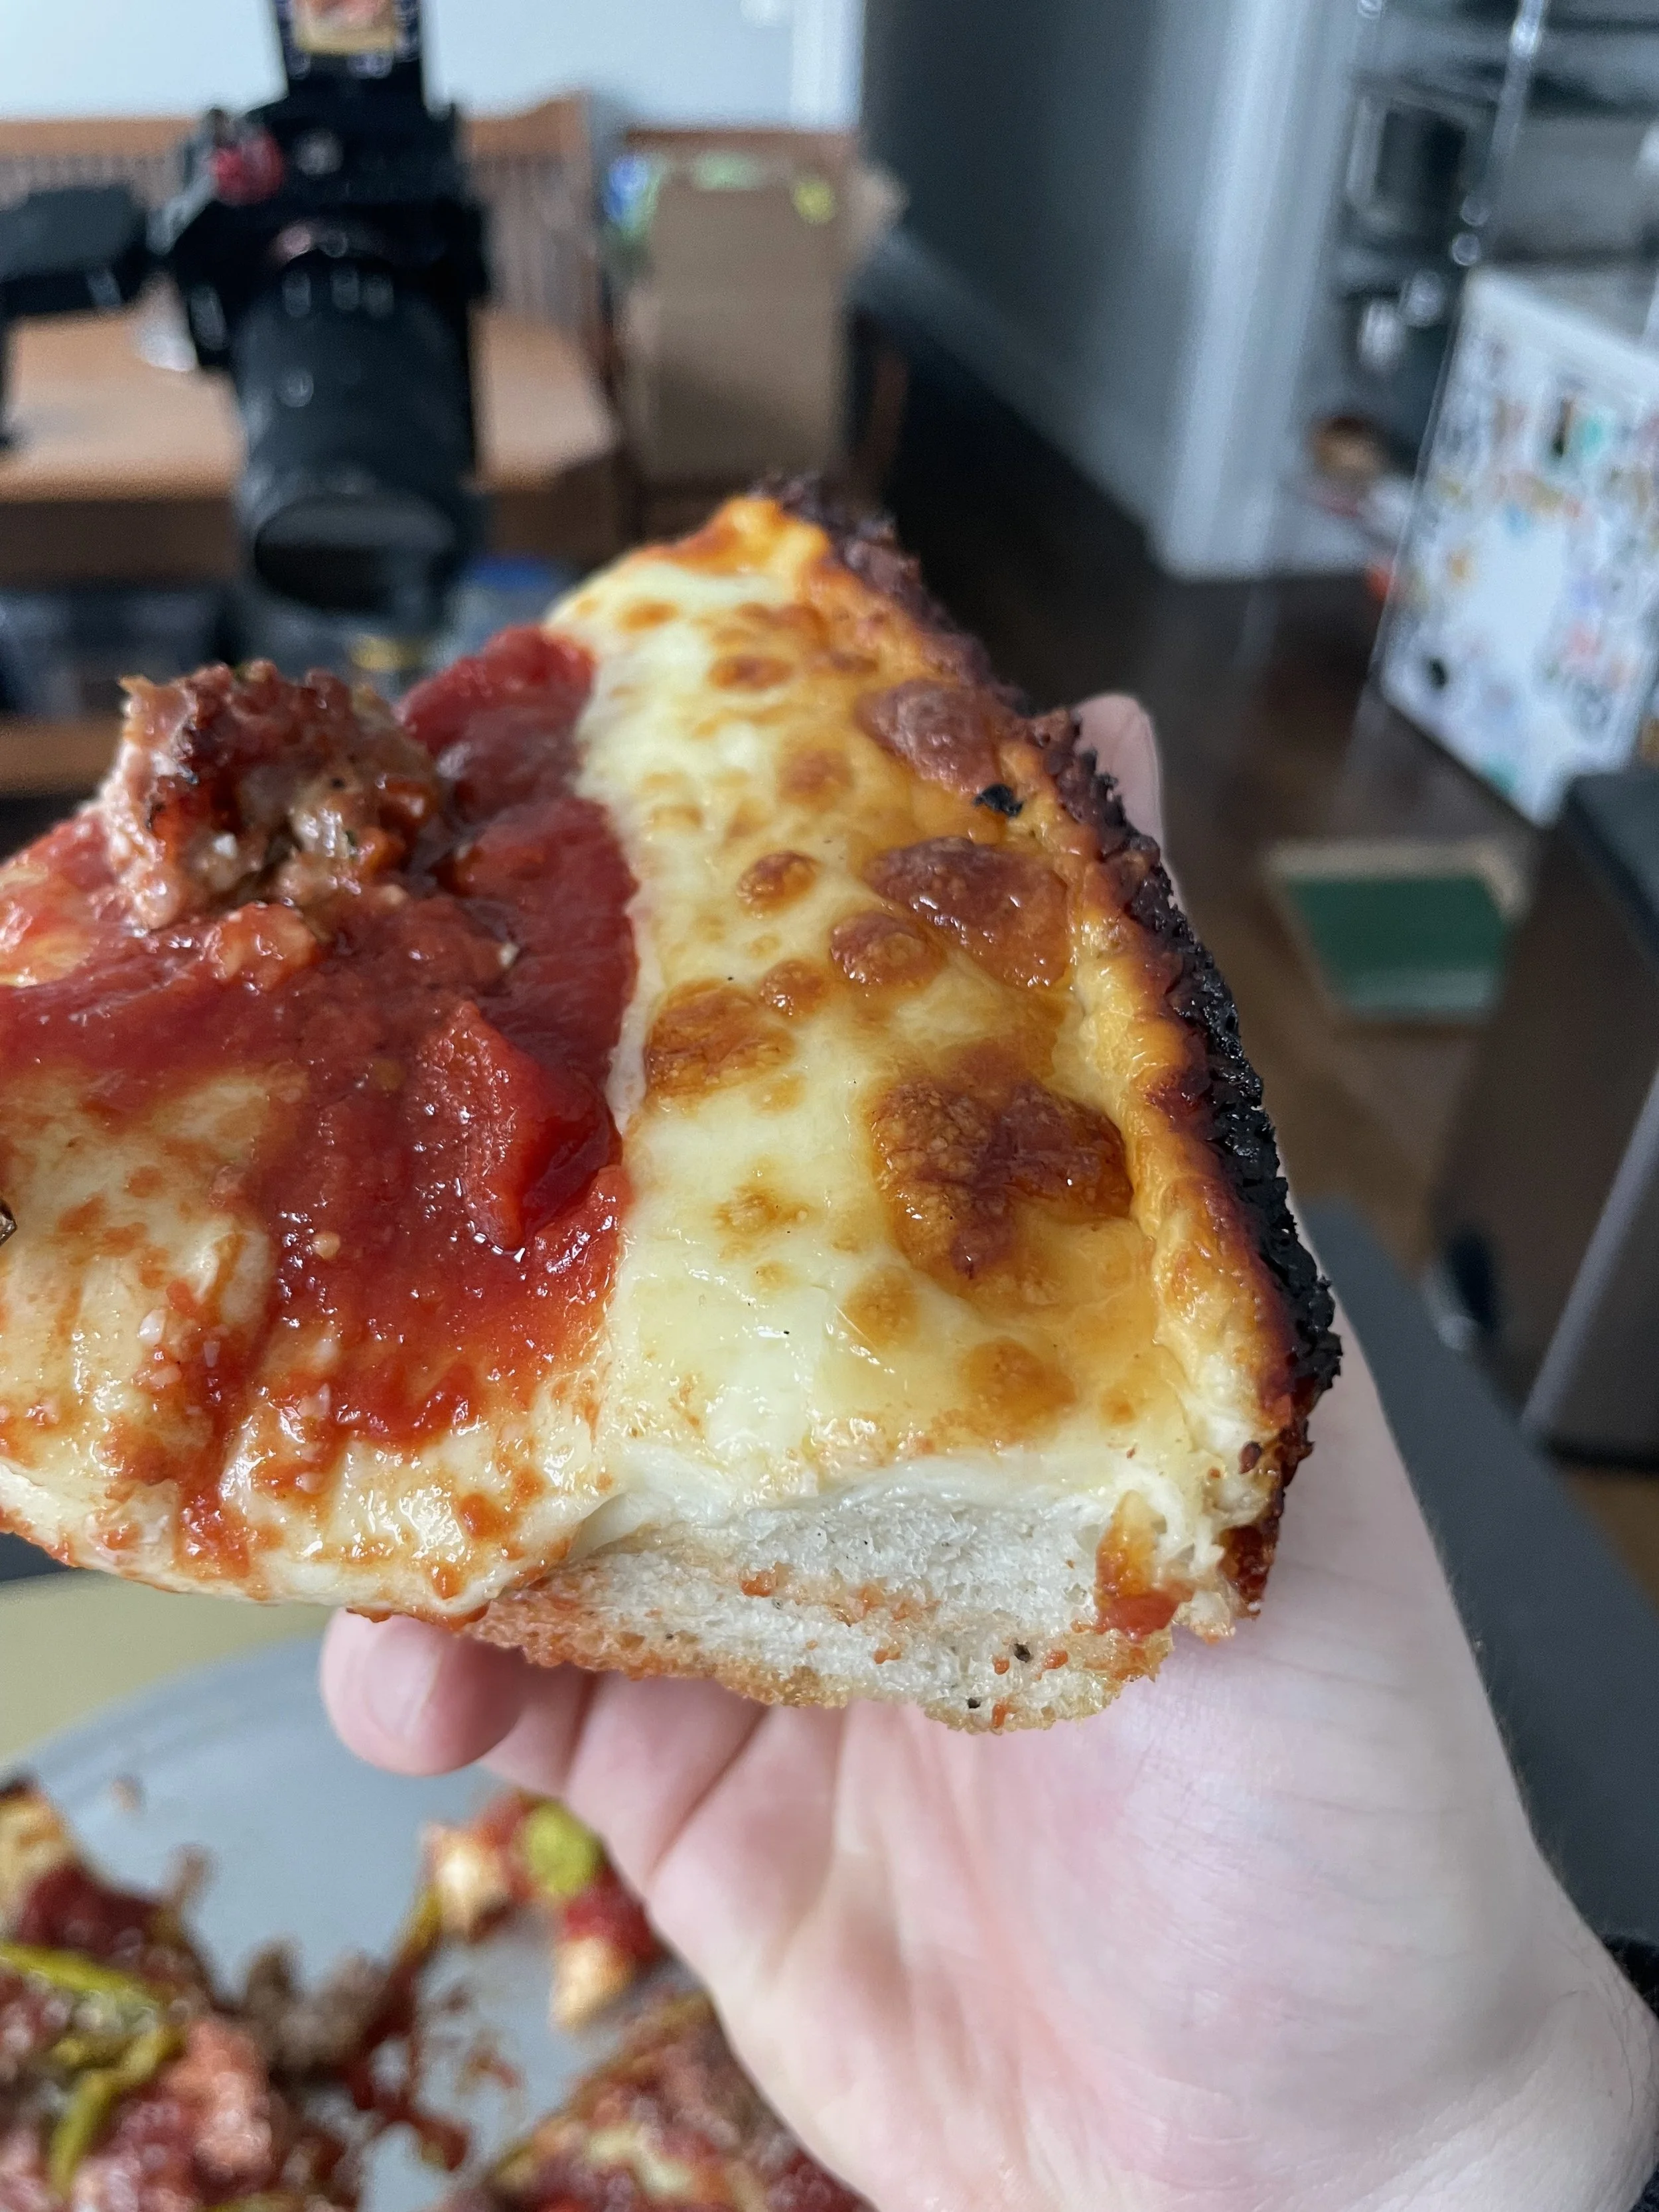
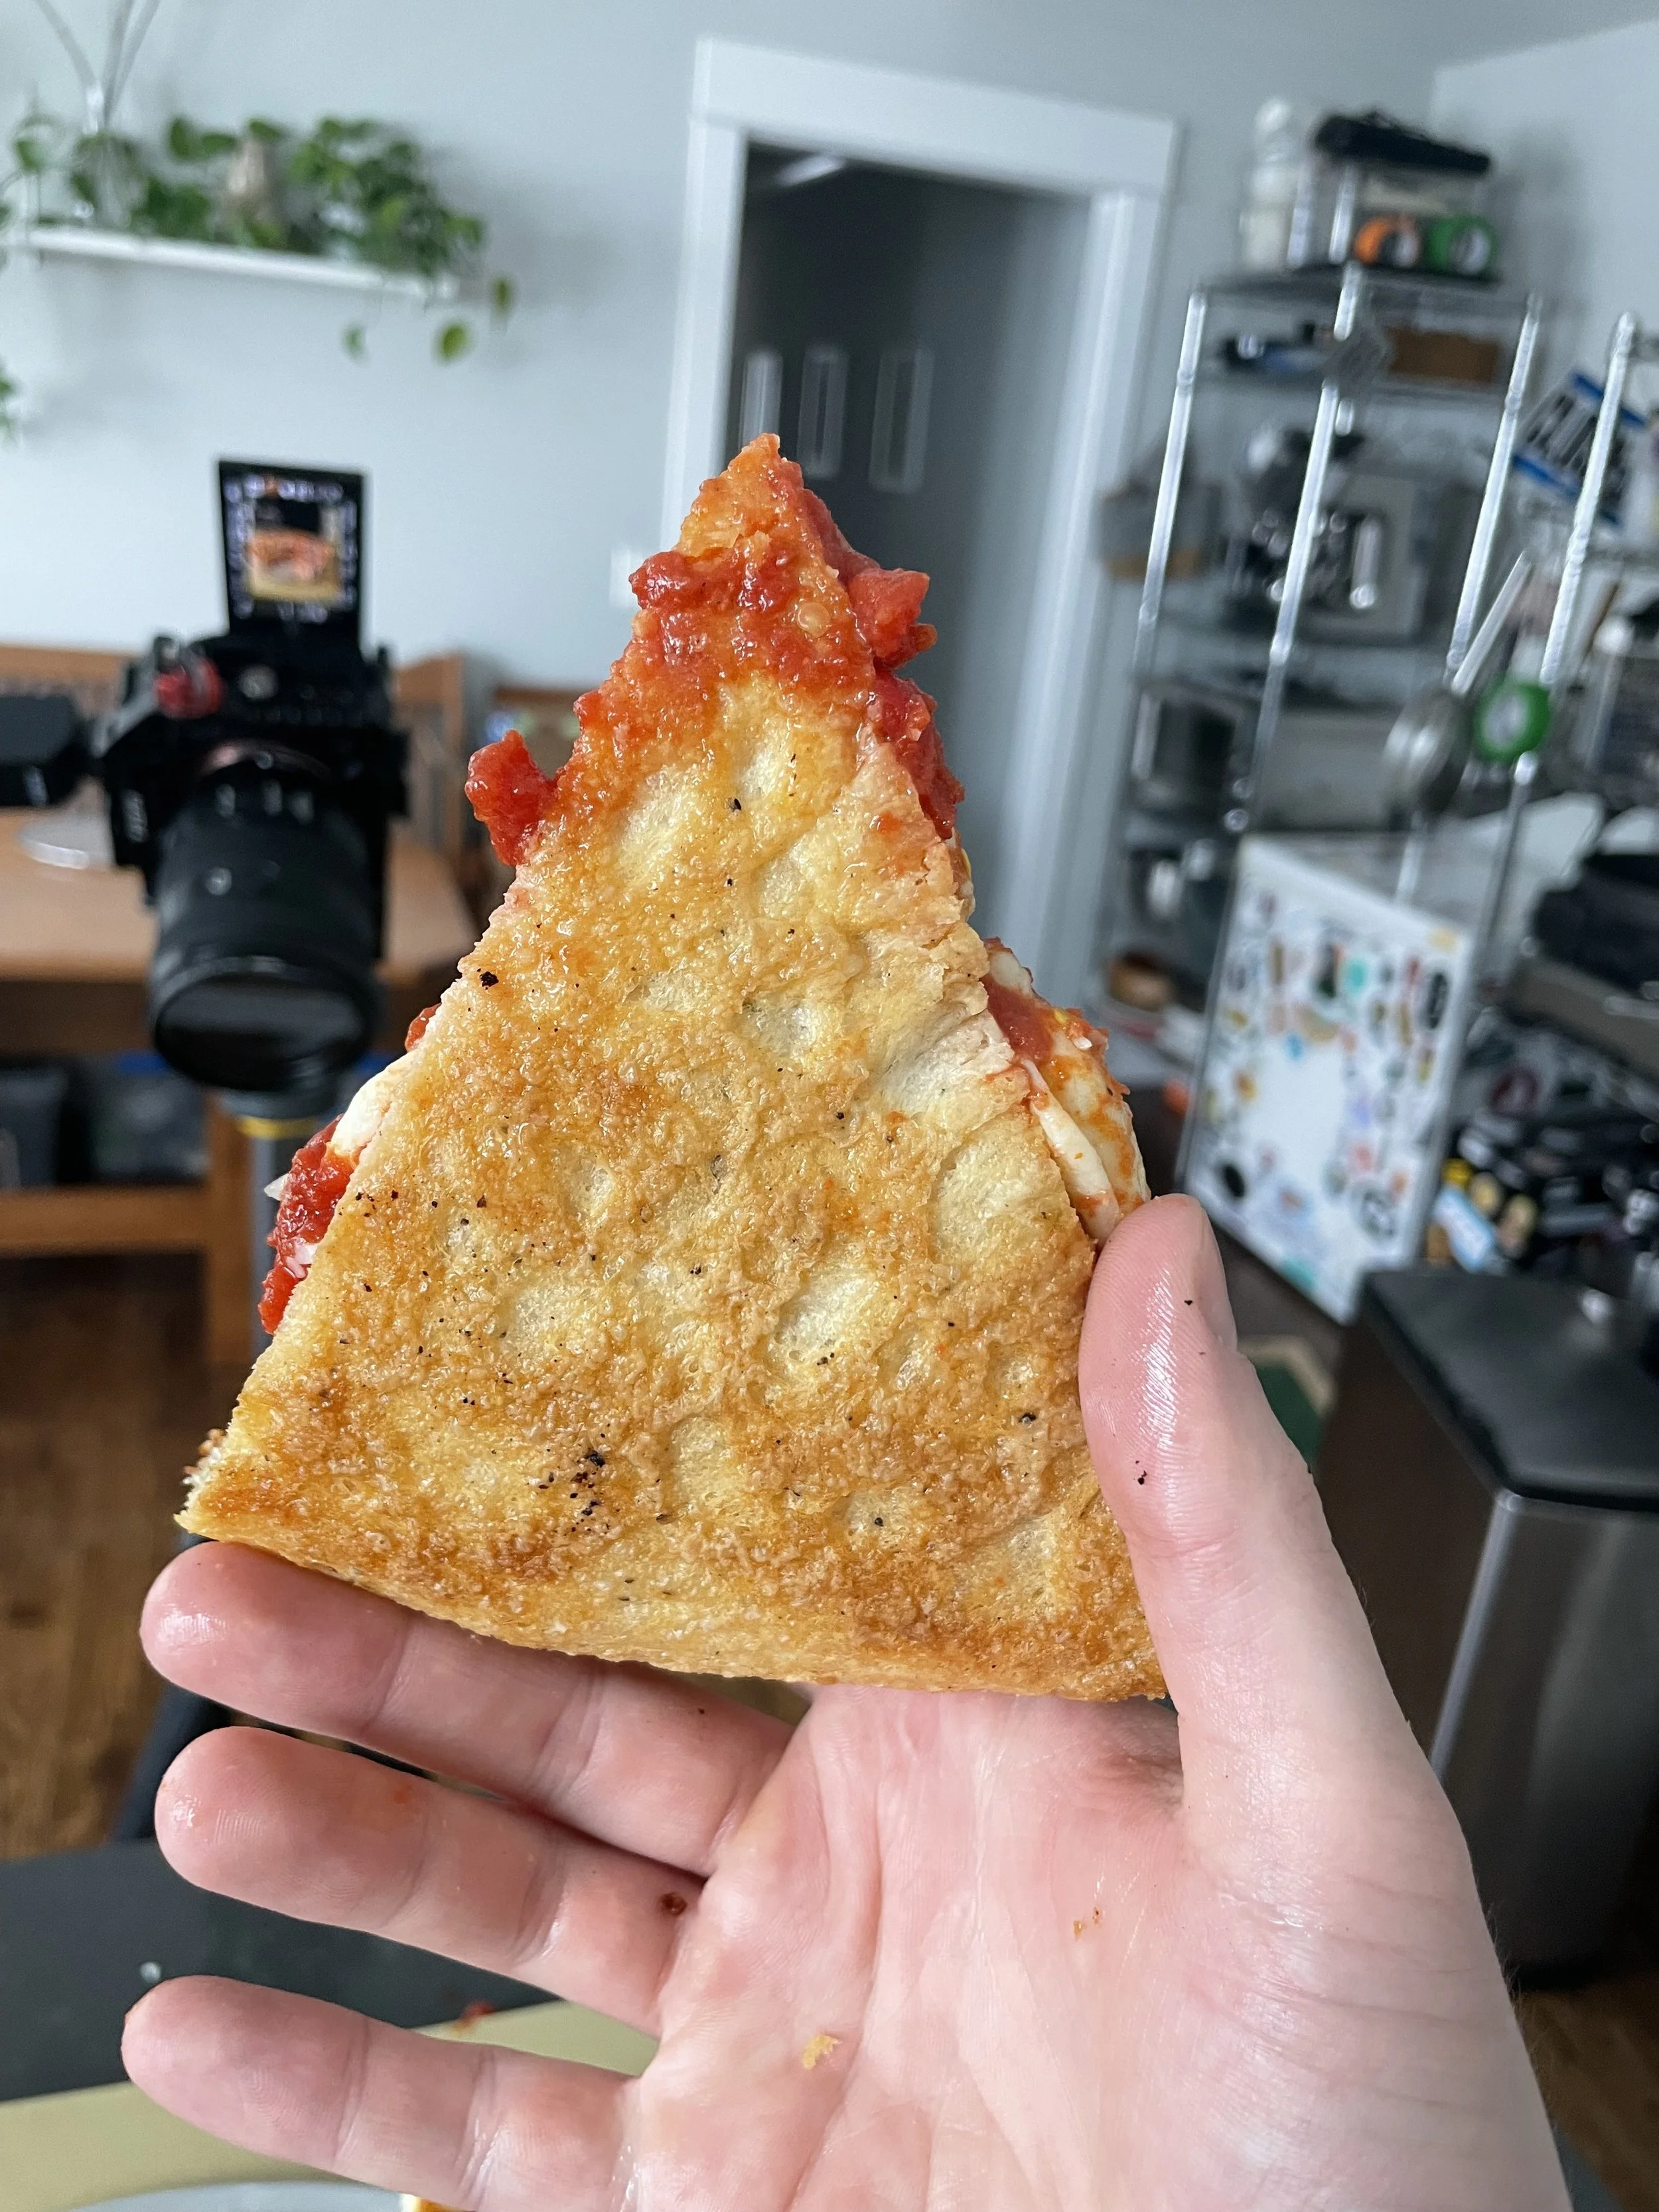
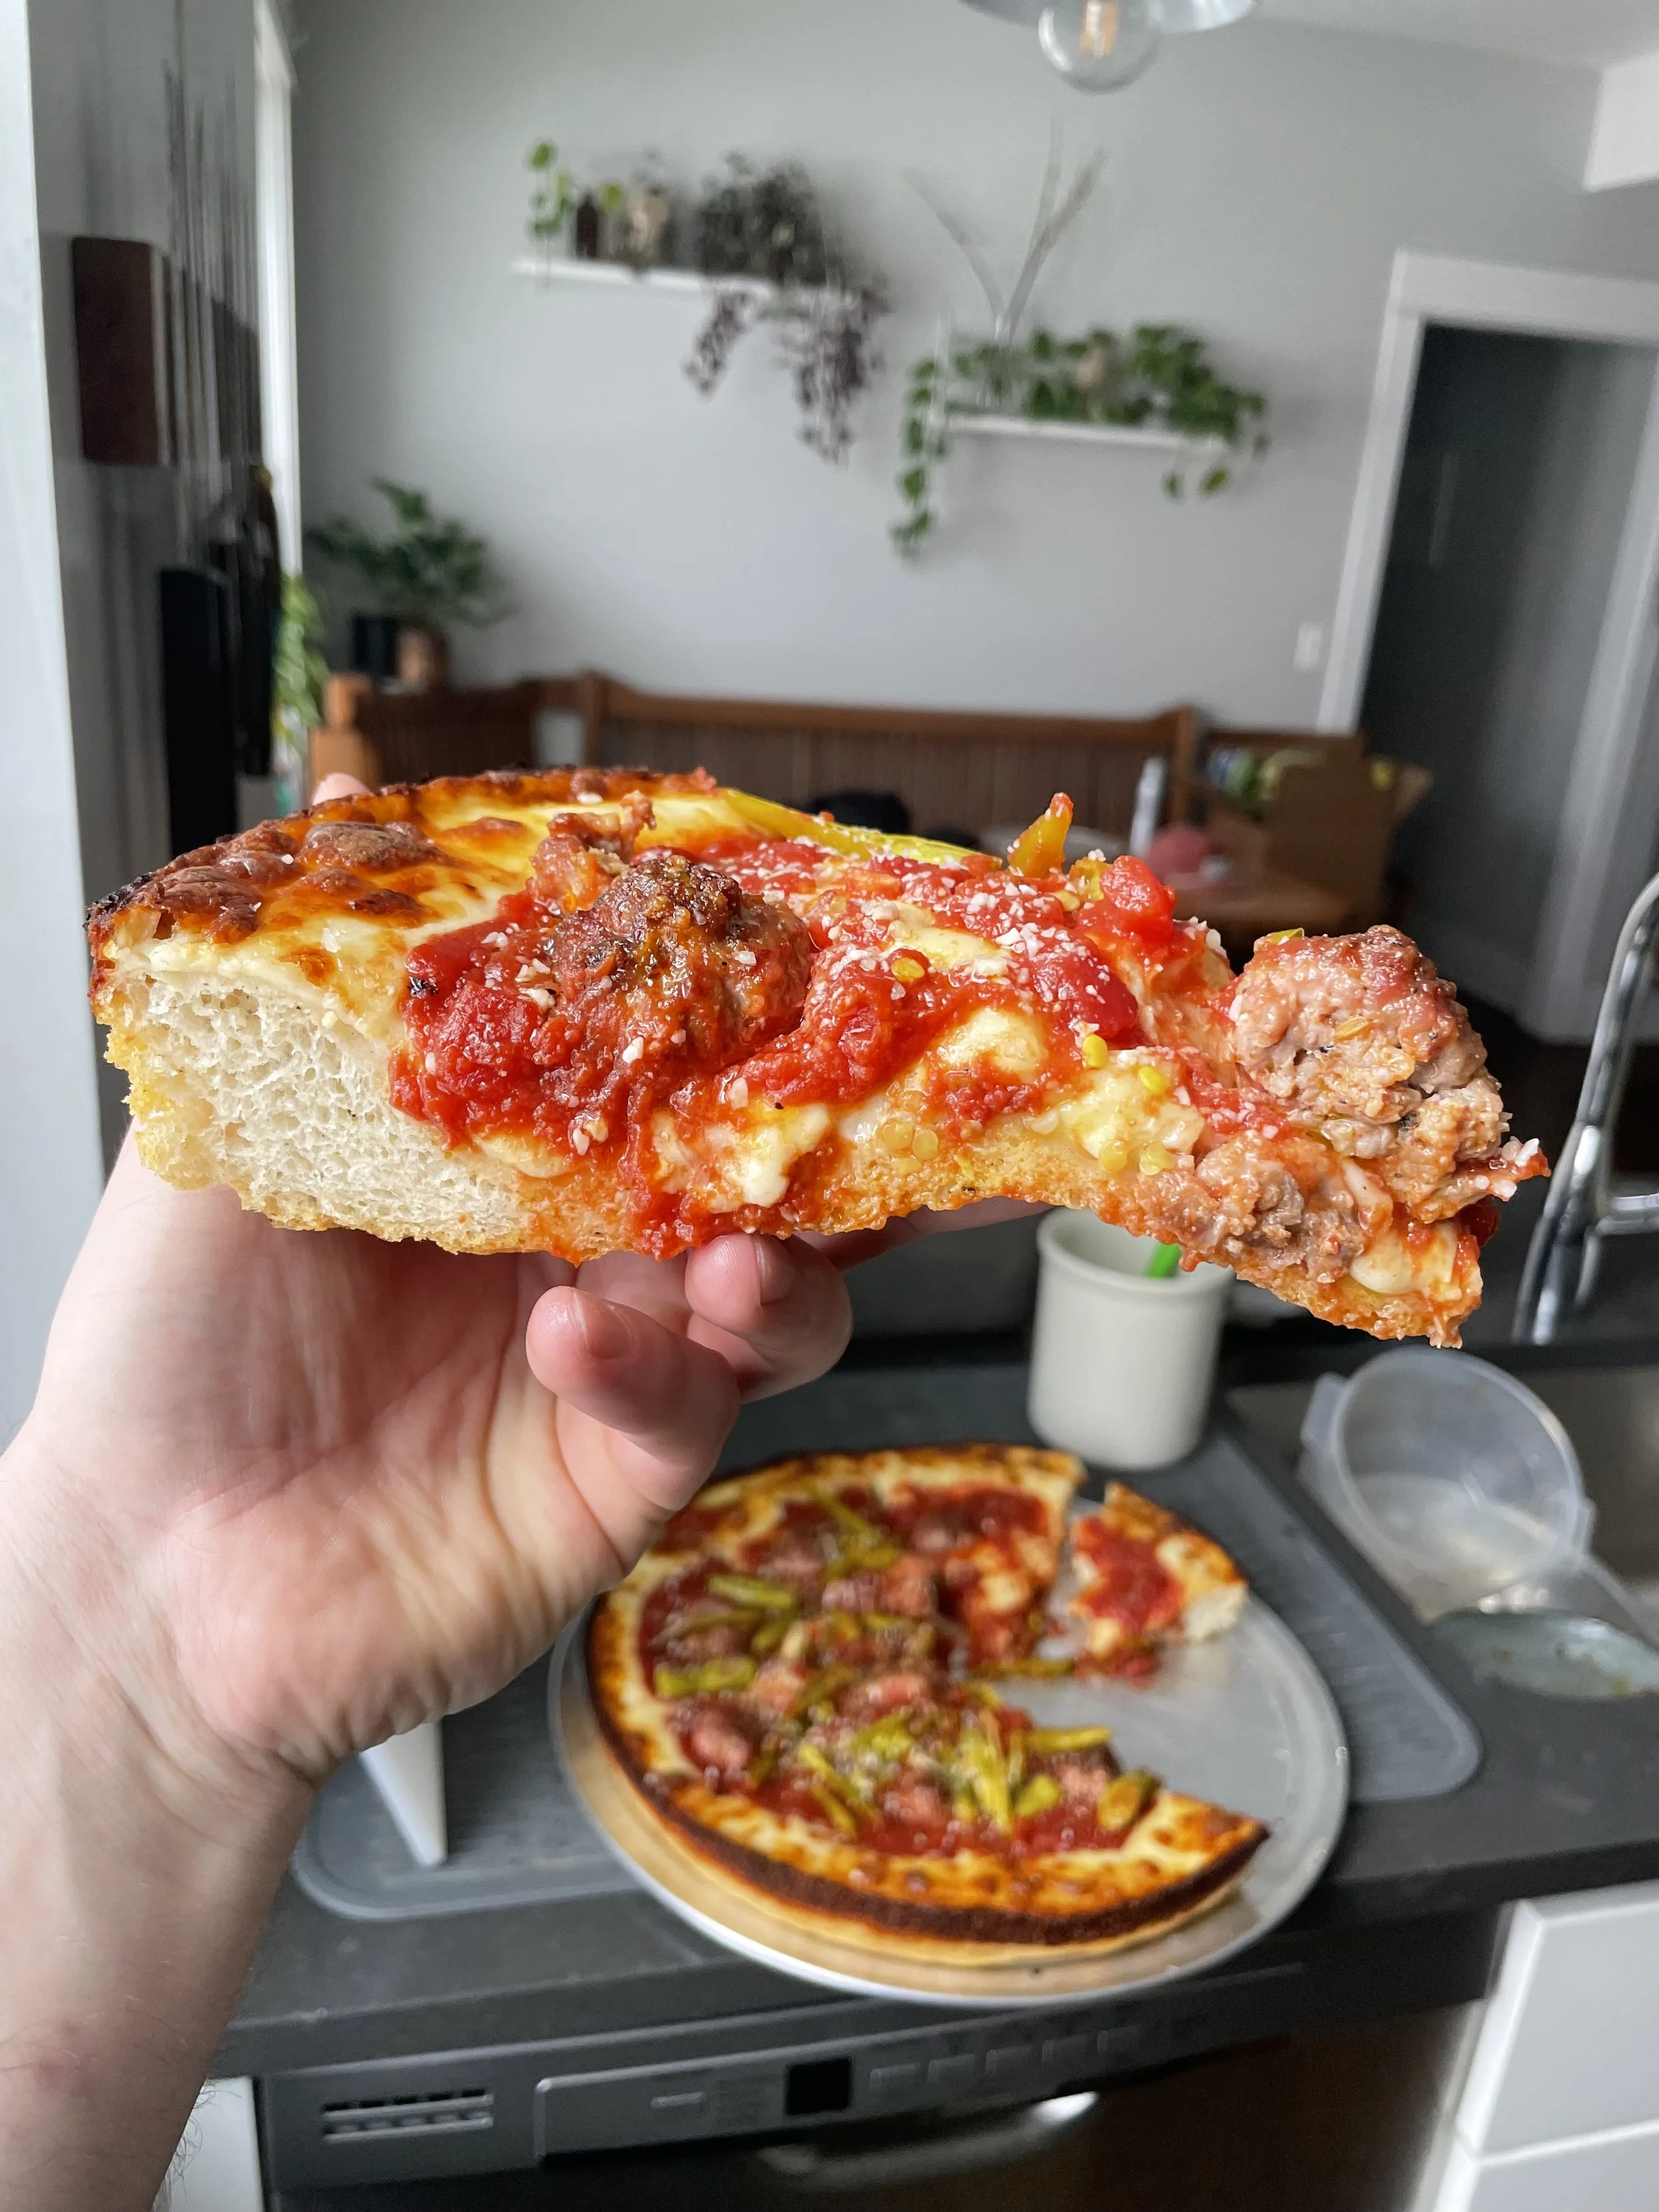
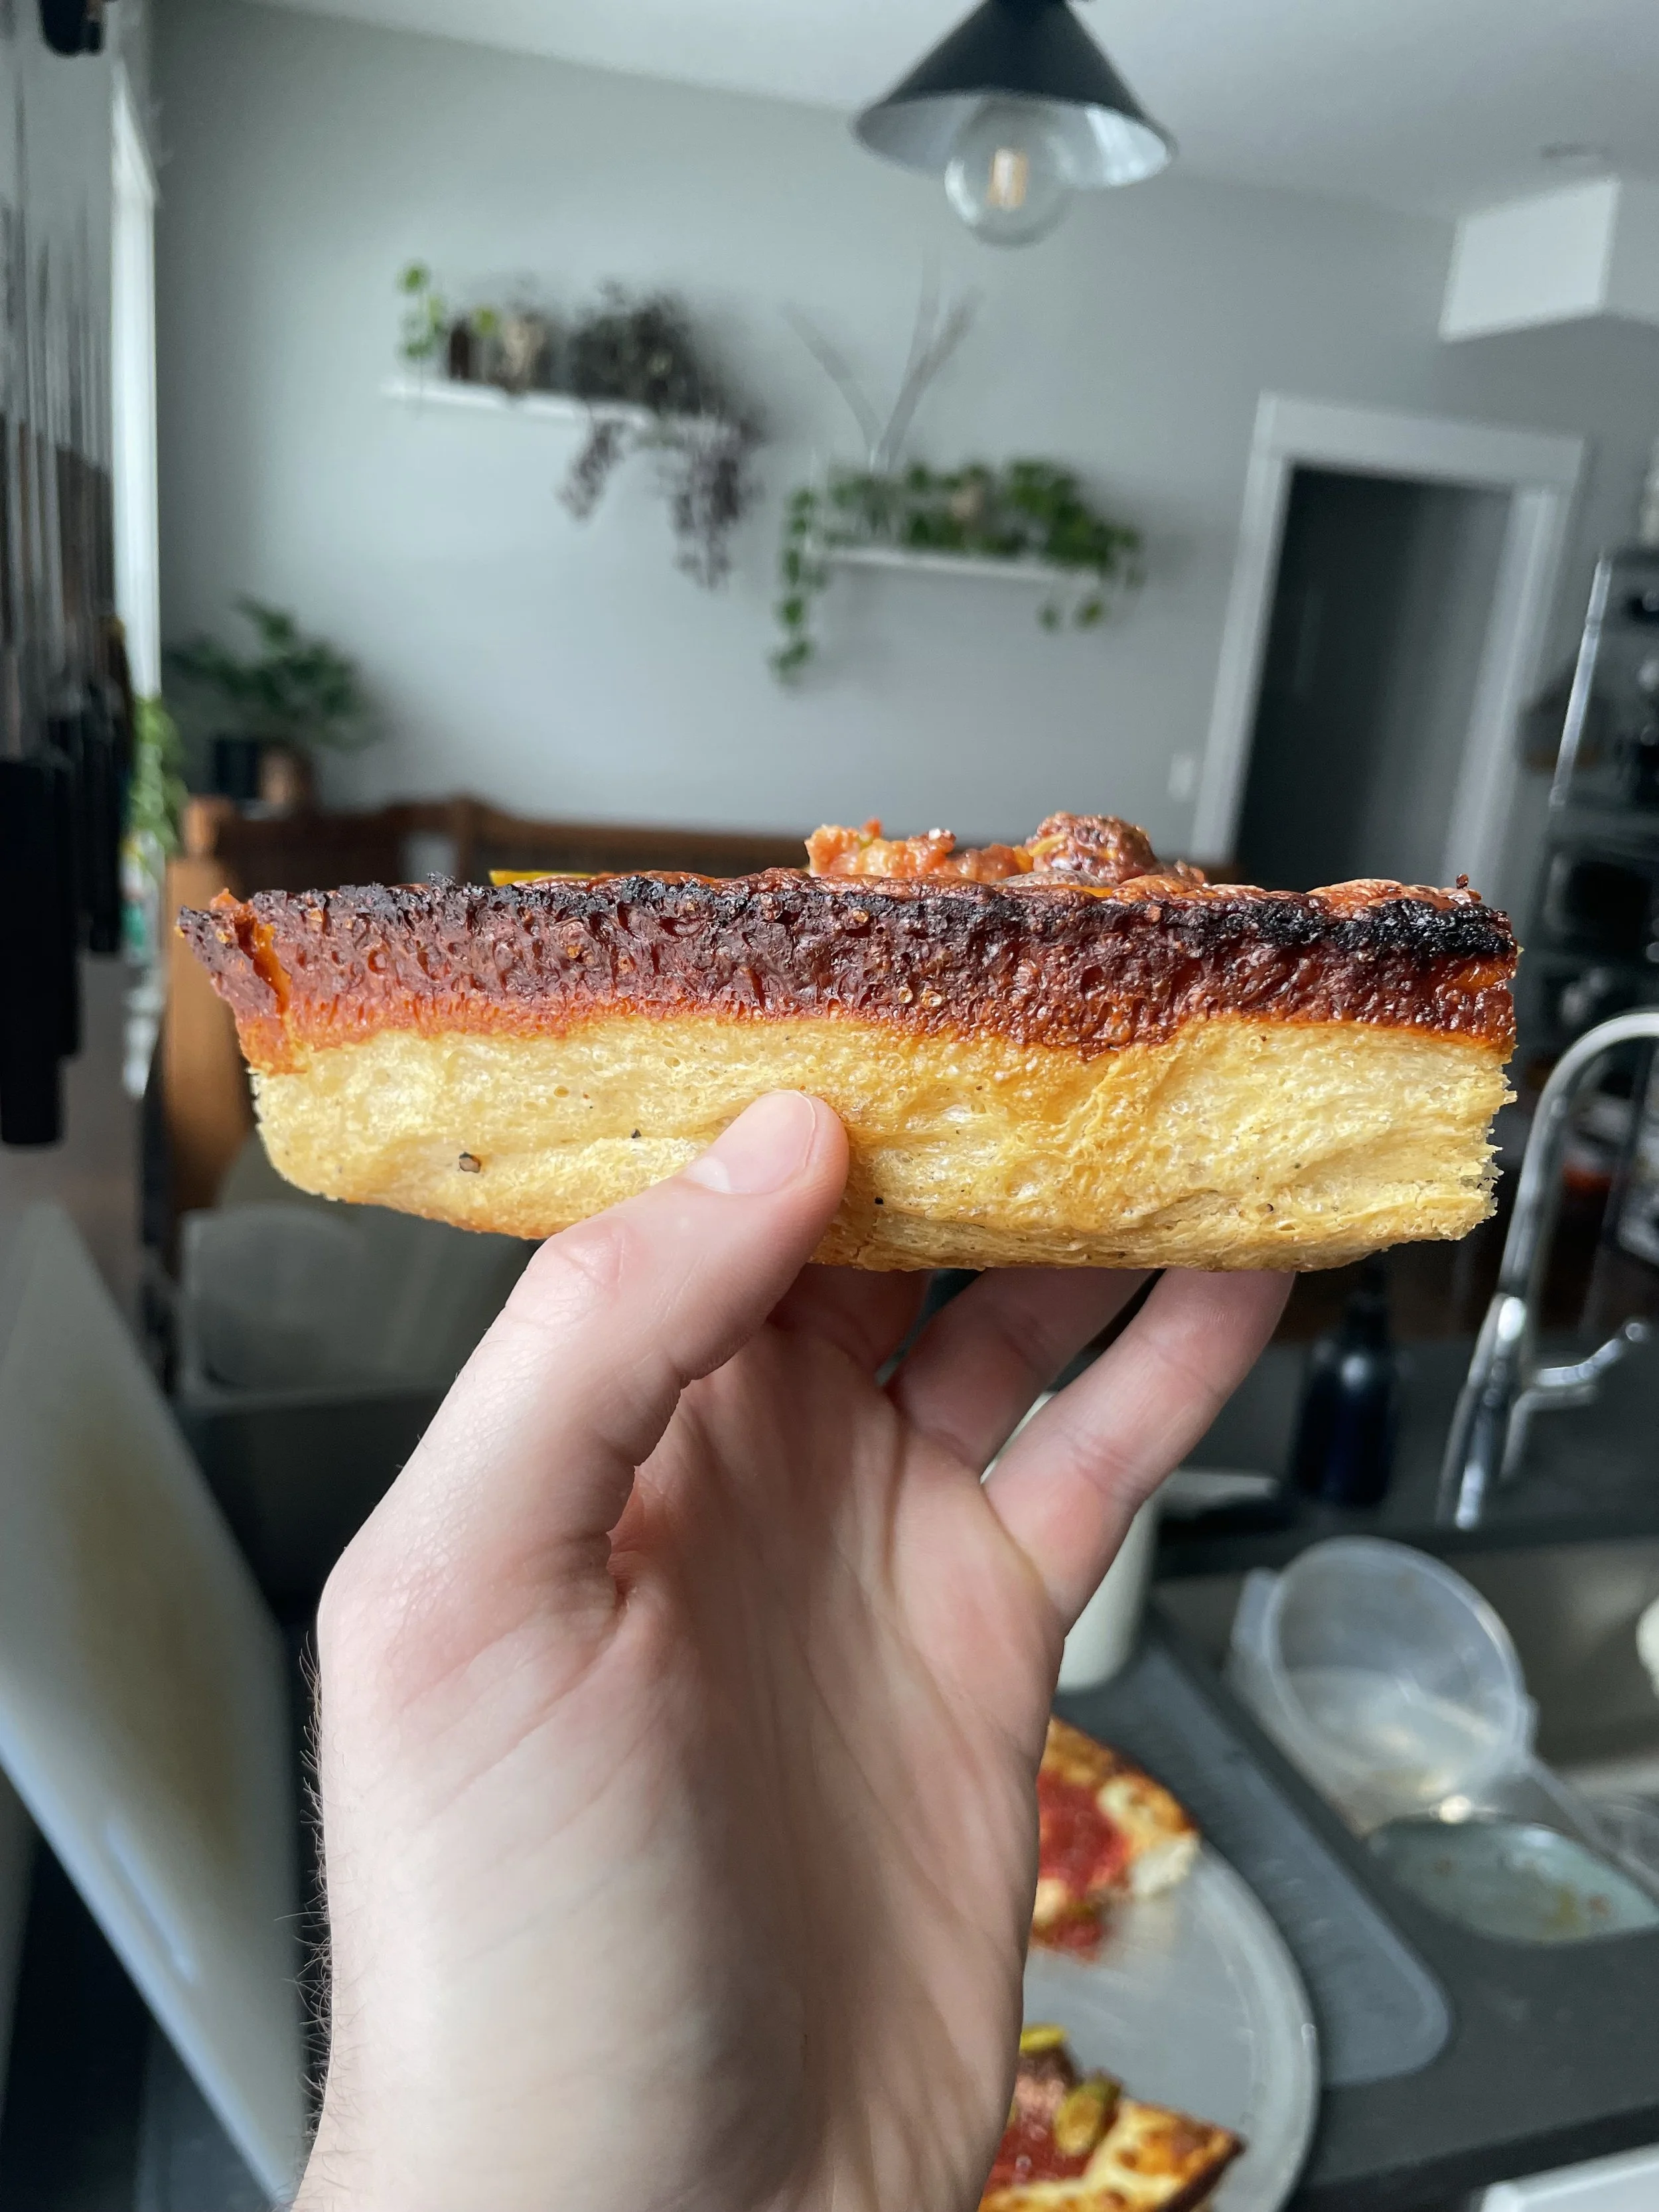
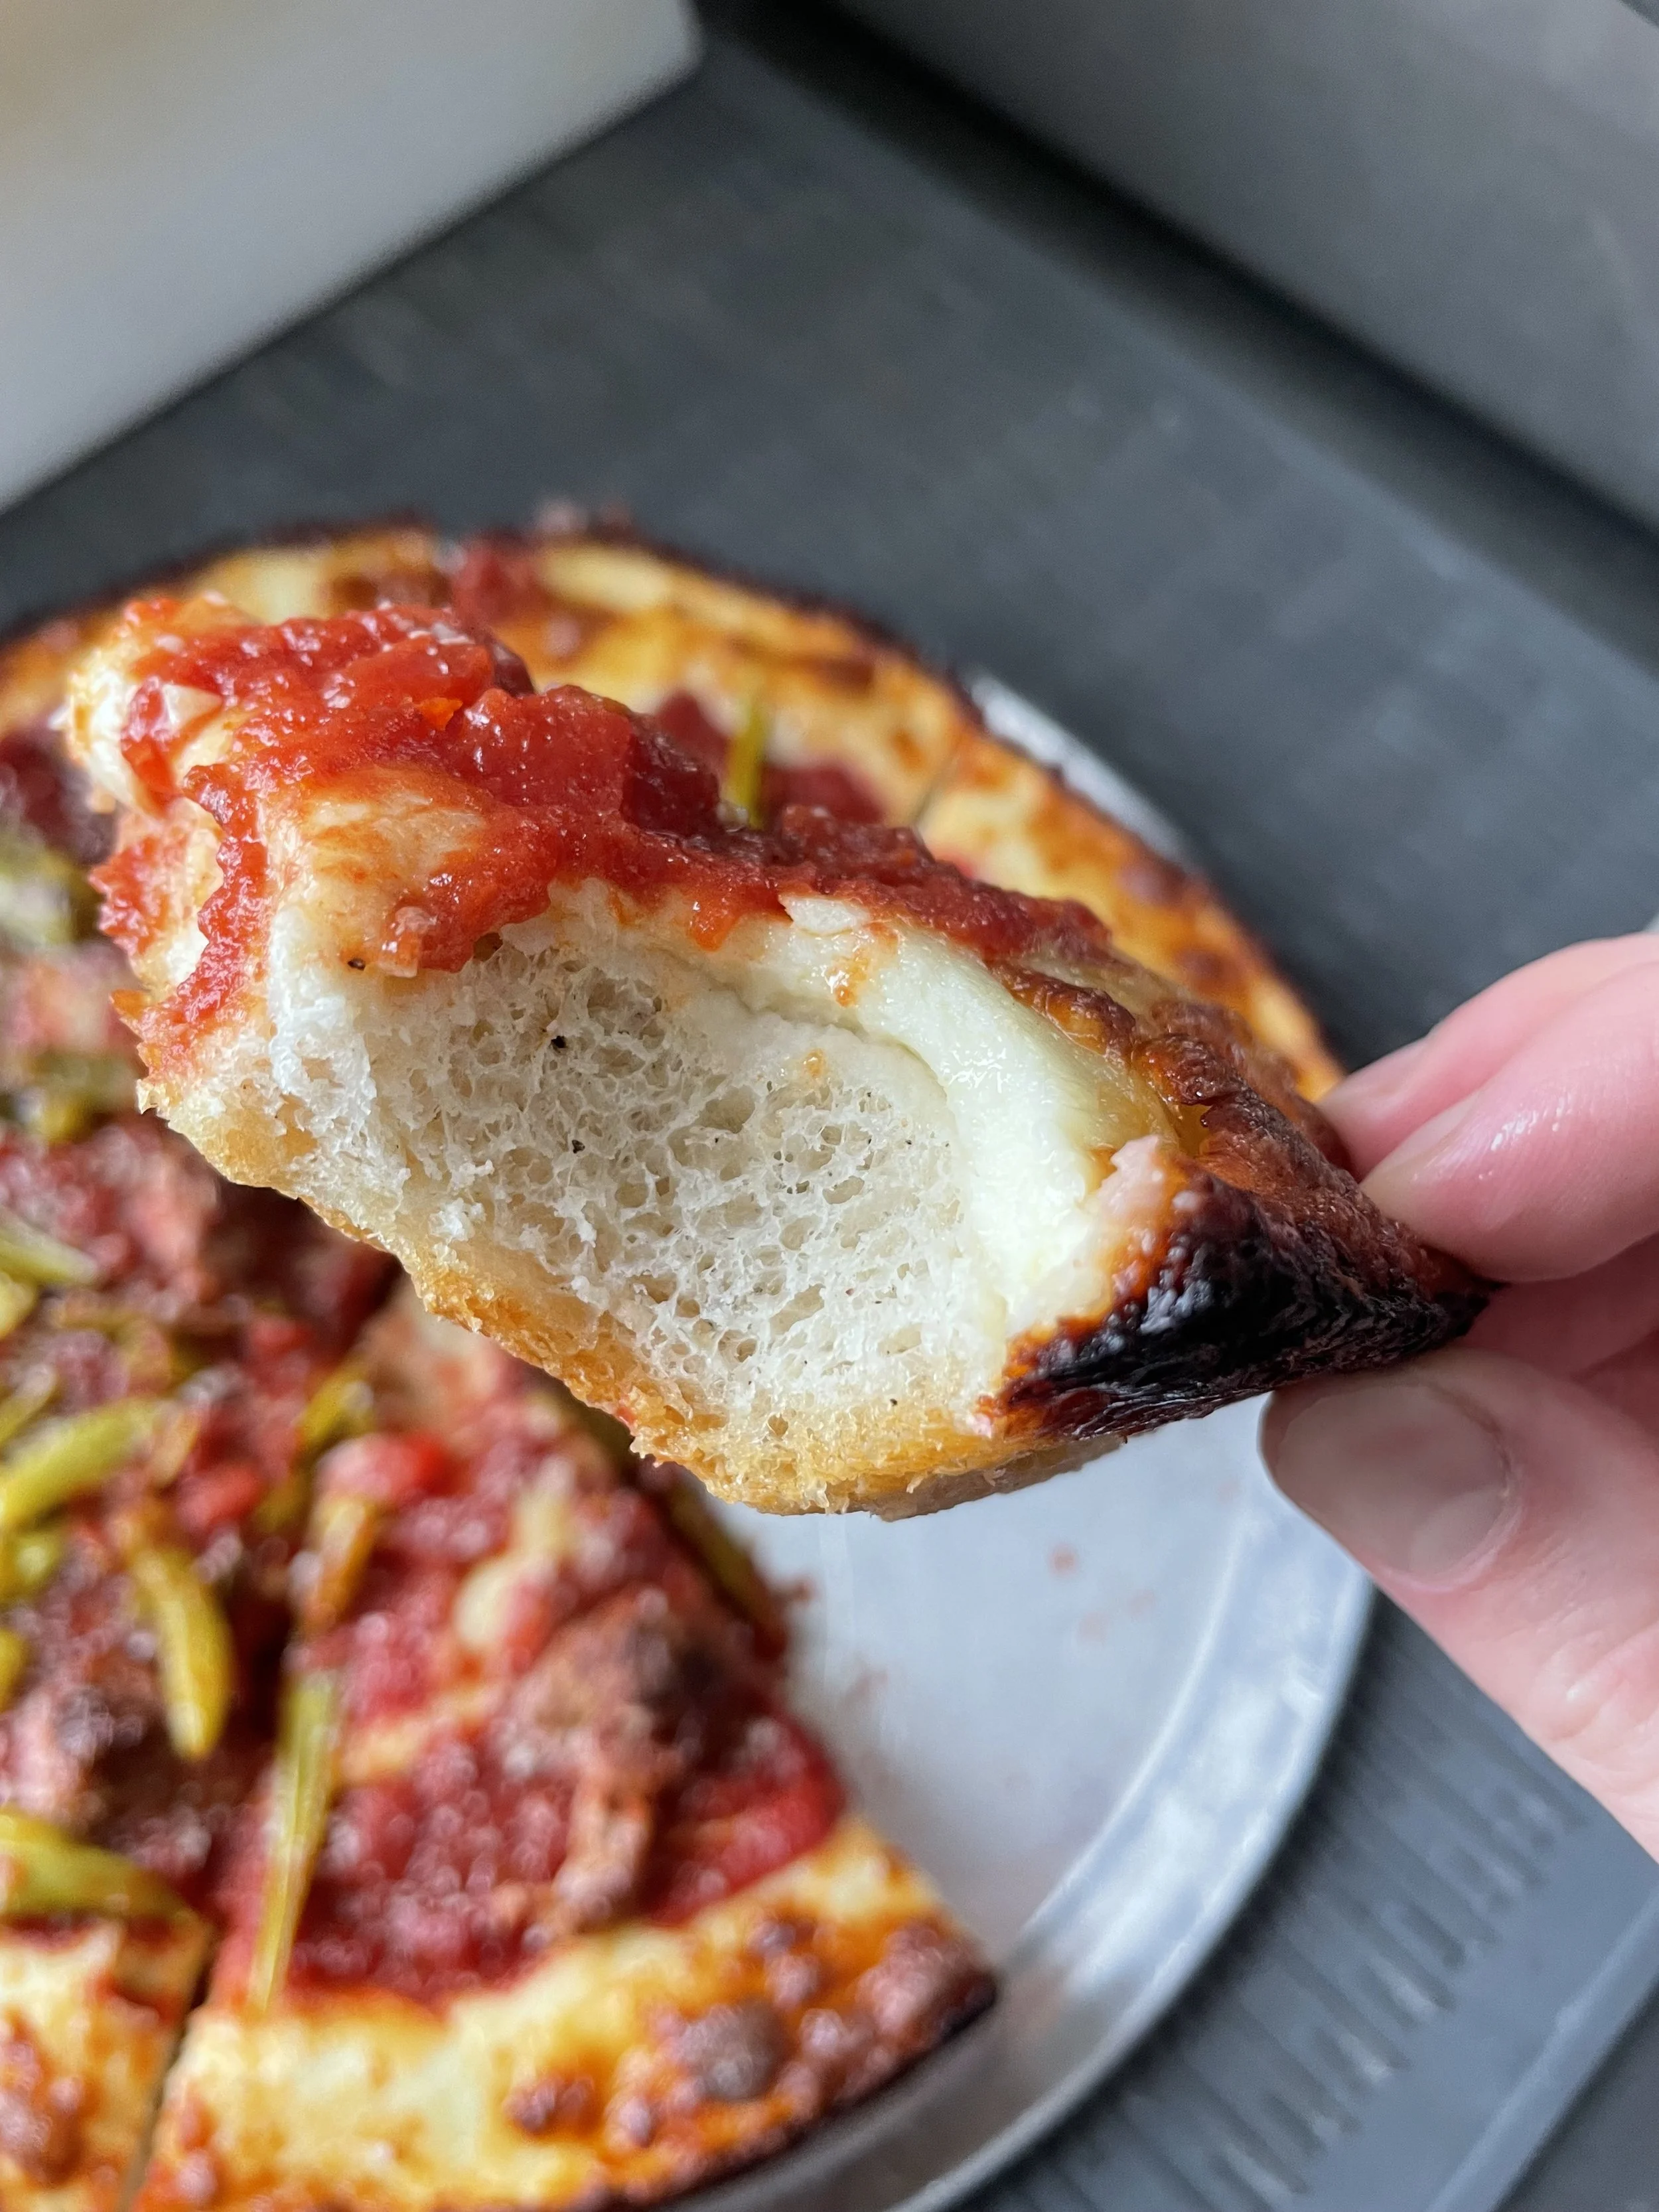
The Chicago Pan Pizza, however, is a distinct and is completely different than Deep Dish. Pan Pizza was first crafted by Burt Katz in 1962 at The Inferno in Evanston, IL. Katz's pan pizza stood out for its caramelized crust - a crust that was thick yet paradoxically light and flavorful, achieved through a long fermentation process that allowed the dough to develop its character. Unlike the deep-dish with its stacked layers, pan pizza offered a harmonious blend of toppings with a perfect balance between crust, cheese, and sauce, creating a unique experience in each bite, so much so that it’s, arguably, Chicago’s third regional style of American pizza (along with Deep Dish and Thin “Tavern-style”).
After working as a trader in Chicago for a few years, Katz couldn’t help but to come back to pizza. Katz went on to open Pequod's in 1970, known for pan pizza, then he sold Pequod's in 1986 to it’s current owner, but openeed up Burt’s Place nearby soonafter. These iconic spots, and other more modern places like Milly’s Pizza In The Pan and George’s Deep Dish on Chicago’s Northside, are thriving and an integral part of the city’s pizza landscape. I hope you dig the recipe! 🤘🏼 Adam

Chicago Pan Pizza (NOT Deep Dish)
Ingredients
Instructions
- In a large bowl, add the water, oil, yeast, sugar, black pepper then top with the flour. Mix by hand until a shaggy mass forms, then cover and let rest for 20 minutes. Add the salt and knead by hand until smooth, about 5-10 minutes. Transfer the dough to a sealable container and rest overnight in the fridge.
- The next day, remove the pizza from the fridge and let it warm up at room temperature for one hour. Use a combination of crisco and baking spray to line your non-stick 14x2 inch pizza pan (see video).
- Place the dough into the pan and use the “slap and press” technique to take the dough all the way to the edges. Dimple the center with your fingers being sure to leave a 1 ½ inch gap between the edge of the pizza and center. Allow the pizza to proof until nearly doubled in size which can take anywhere from 45 minutes to 2 hours depending on how cold your kitchen is.
- 1 hour before baking, adjust the rack of your oven to the lower middle position, and preheat it to 500F for at least 1 hour before baking.
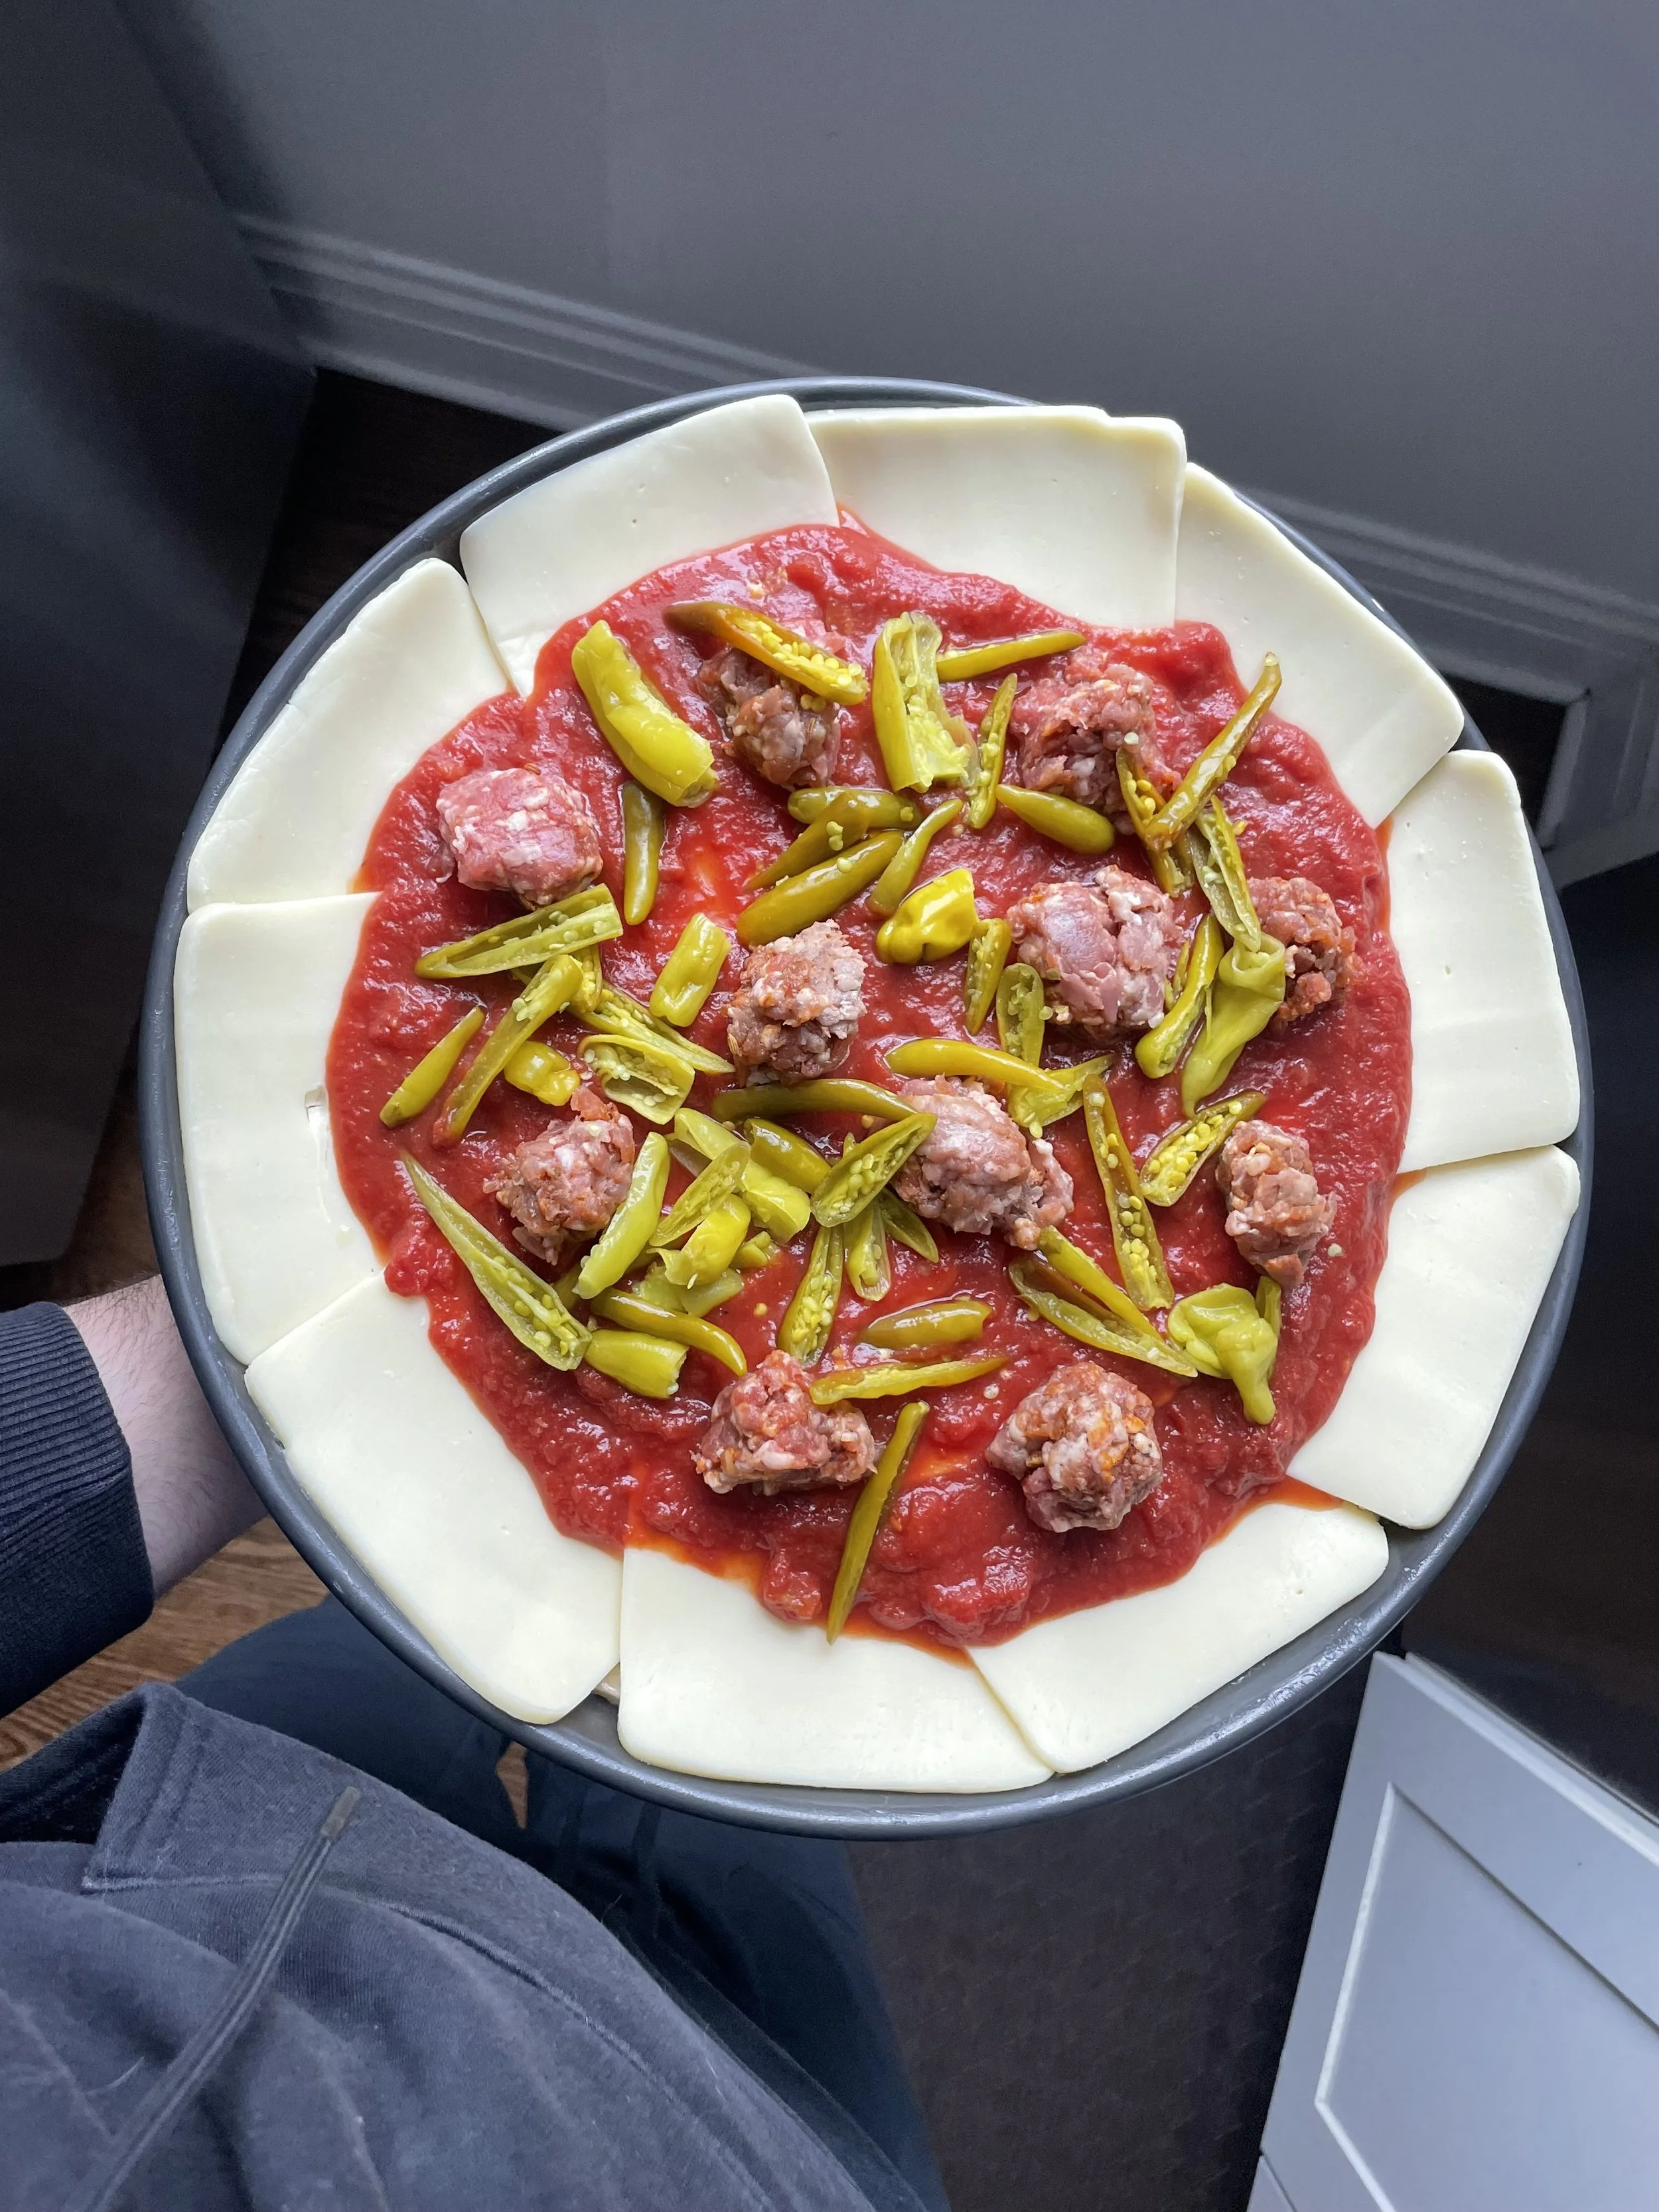
- Build the pizza. Lay the cheese slices on the pizza ensuring that they slope onto the walls of the pan and cover the center of the pizza. Spoon on a generous (2-2 ¼ cups, 18oz) of sauce in the center and spread it into a neat circle. Add whatever toppings you’d like making sure to not add delicate toppings until later into the baking process (see note).
- Place the pizza in the center of the the oven rack and bake for 22-25 minutes (this could vary depending on your oven, each oven is different), rotating the pizza at the 10 minute mark to ensure even cooking.
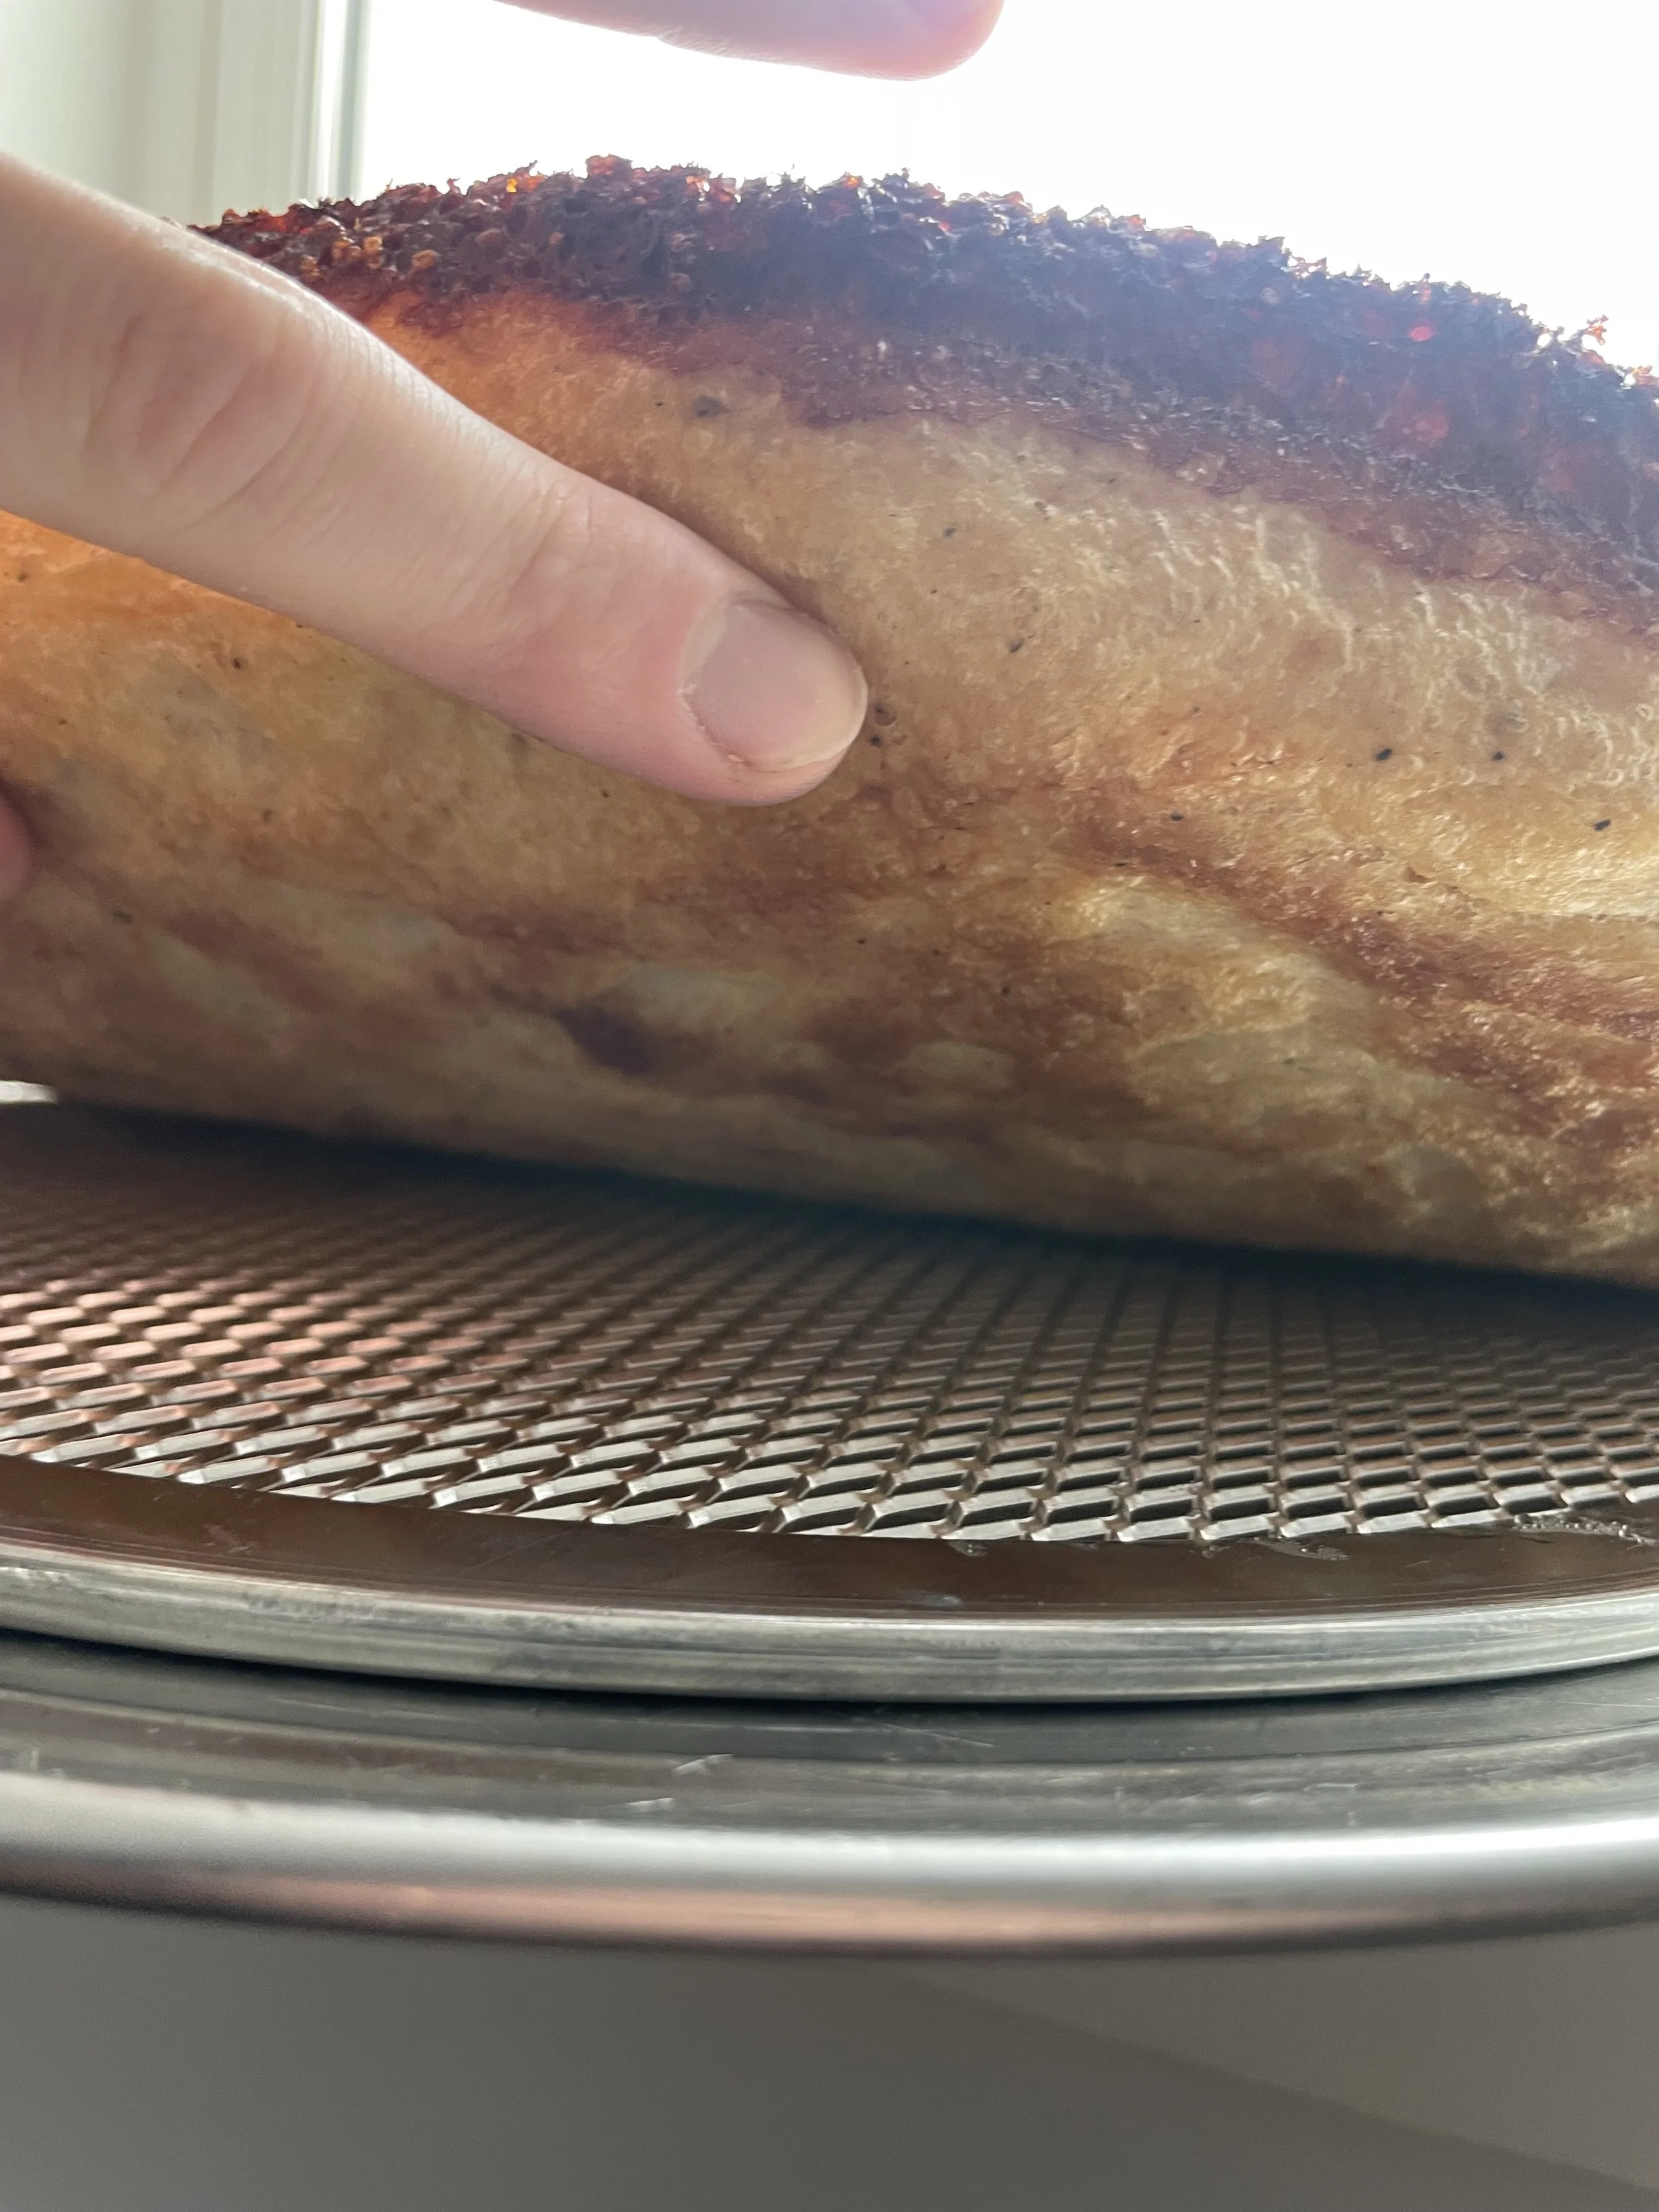
- Remove the pizza from the oven then use a spatula to release it from the pan. Immediately transfer the pizza to a cooling rack and allow to cool for 5 minutes before slicing.
- Mix everything in a bowl and chill for at least 30 minutes. This sauce can be made 1-2 days in advance and stored in a sealed container in the fridge.
Adam's Notes
- This dough is a 59.6% hydrated dough. It's relatively low hydration so it's quite easy to work with.
- If adding toppings like thinly sliced veggies or thin pepperoni, be sure to add them in the last 5-10 minutes of cooking to avoid scorching (but a little char is nice).
- This recipe is a hybrid of Pequod's, Burt's Place and Milly's Pizza In The Pan. Shoutout to the O.G.'s for paving the way.
FAQ + Research pics
Which type of pan is best?
The Sicilian pan from Lloyd Pans seems to help the pizza bake into a better rectangle than a sheet tray. It’s also non-stick so you don’t have to worry about the pizza sticking, even though it’s not hard to release with a spatula. All in all, if you’re wanting to take on pizza making as a hobby I recommend the purchase of the Lloyd Pan, if not a regular non-perforated sheet tray will do just fine.
Which is the best fat to coat the pan? Why?
I tested Butter, Clarified Butter, Olive oil and Crisco for this pizza. Each has their own stats. Butter leaves the best aroma, but tends to burn on the bottom of the pan so clarified butter is the move. Crisco works well, but doesn’t have much of an aroma and leaves a similar texture when compared to butter. Olive oil leaves the most focaccia-like, delicate and almost brittle exterior that shatters with a nice, light aroma.
For this style, I prefer the mixture of Crisco and PAM non-stick spray. Robert, owner of Milly’s Pizza In The Pan, told me that it took him 7 months to figure out the exact combo of Crisco and PAM for optimal release of the pizza. Trust me, not being able to get the pizza out of the pan sucks. This combo is fool-proof.
Disclaimer: I earn commission income with qualifying purchases made through Amazon’s Affiliate program and other affiliate links in this description.


